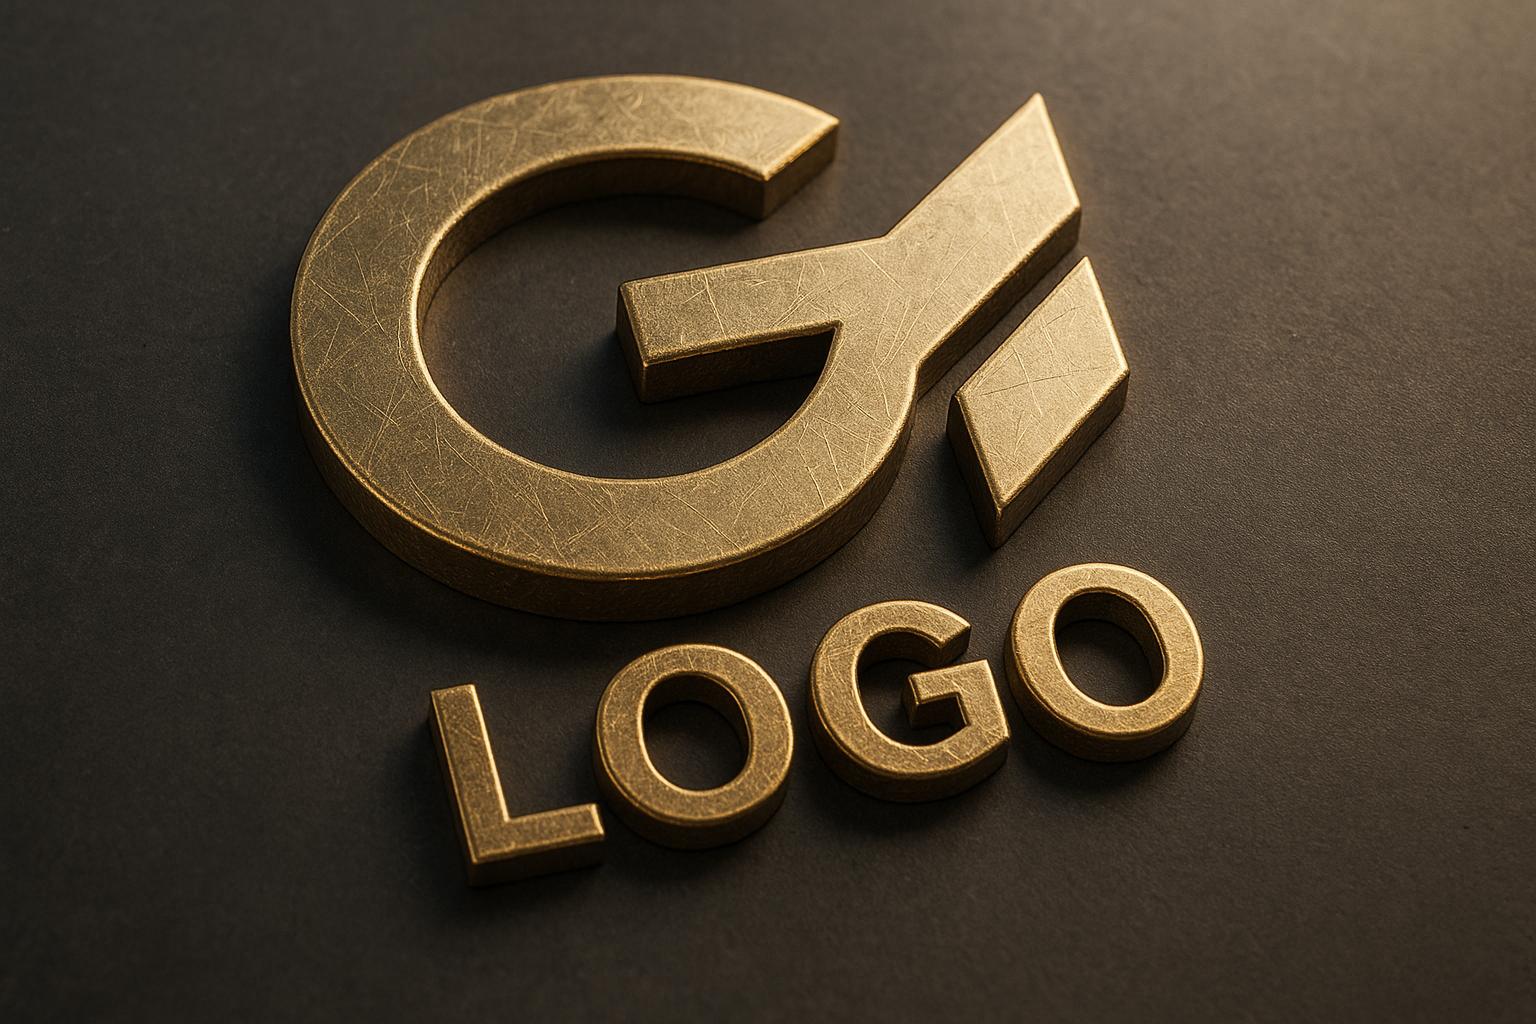

Want to make your logo pop with lifelike 3D textures? Here's how you can create realistic 3D logos that stand out:
Tools like Logo Diffusion can simplify the process by converting 2D logos into 3D designs and offering AI-driven material presets. Whether you're designing for digital screens or print, these tips will help you create polished, realistic 3D logos.
Core Elements of 3D Texture Realism
To create lifelike 3D logo textures, you need to focus on three main components. These are the technical essentials for turning flat designs into realistic 3D visuals.
PBR Materials are the starting point. They replicate how light interacts with surfaces, impacting factors like:
Understanding how these elements work together is crucial for achieving realism.
Advanced Lighting brings out the finer details in textures. A well-designed lighting setup includes these key components:
Finally, precise texture mapping ties everything together with the logo's geometry. Proper UV unwrapping ensures textures align correctly without distortion. Multiple texture maps, like color, roughness, normals, metallic, and ambient occlusion maps, work in unison to add depth and detail.
With tools like Logo Diffusion, the process becomes more streamlined. This software automatically calculates texture coordinates and material properties from the original design, maintaining brand consistency while adding realistic depth.
These core principles lay the groundwork for the next steps, where we'll dive into practical tips to fine-tune each element for even more realism.
Tip 1: Set Up Professional Lighting
Good lighting is key to showcasing detailed, realistic 3D logo textures. It highlights surface details, adds depth, and brings out material properties. This builds on the lighting techniques discussed earlier.
HDRI Lighting for Natural Reflections
High Dynamic Range Imaging (HDRI) mimics natural light by using real-world data to create precise reflections and ambient lighting.
Fine-tune HDRI rotation and intensity to highlight key logo elements. Studio HDRI maps work well for reflective or shiny surfaces.
Three-Point Lighting Setup
A three-point lighting system offers precise control over the logo's appearance:
Maintain a 2:1 ratio between the key and fill lights for balanced results.
Lighting Adjustments for Different Displays
Digital Screens:
Print Materials:
If you're using tools like Logo Diffusion for 2D-to-3D conversion, the software often adjusts lighting automatically, but manual tweaks can make a big difference.
Tip 2: Select and Adjust PBR Materials
Once you've nailed the lighting, it's time to refine your materials for a polished, realistic look. PBR (Physically Based Rendering) materials are perfect for creating lifelike textures because they mimic how light interacts with surfaces in the real world.
Fine-tuning these materials is crucial to achieving the desired surface effects for your 3D logo.
Adjust Material Settings
PBR materials are defined by several key properties that control how a surface looks and behaves:
Adjust these settings to match the material you're aiming for. For instance, if you're working with metal, use high metallic and low roughness values to create a shiny, reflective finish. For non-metallic materials, go for lower metallic values and higher roughness to achieve a matte appearance.
Tip 3: Use High-Quality Texture Maps
Once your PBR materials are set, the next step is to use high-resolution texture maps. These maps help replicate real-world surface properties, making your 3D logo look more lifelike.
Why High-Resolution Textures Matter
Here’s a quick guide to recommended texture specifications:
Using higher resolutions ensures sharp details, even in close-ups or large-scale applications like billboards or vehicle graphics.
Combining Texture Maps for Realism
To create a realistic surface, layer multiple texture maps:
This layered approach adds depth and dimension, making your logo stand out.
Procedural vs. Photo-Based Textures
The type of texture you choose depends on the look you’re going for:
For sleek, modern logos, procedural textures offer precise control. On the other hand, photo-based textures are ideal for logos featuring natural elements like wood or stone.
Tools like Logo Diffusion simplify this process by automatically generating texture maps from your design while keeping your brand’s essence intact.
Tip 4: Master UV Mapping
To achieve realistic textures in 3D logo designs, understanding UV mapping is a must. Think of UV mapping as unwrapping your 3D logo into a flat surface, allowing you to precisely place textures. When done correctly, it ensures textures look sharp and natural.
Fix Common UV Problems
Here are some common UV mapping issues and how to fix them:
For logos with curved surfaces, such as beveled edges or rounded corners, pay extra attention to UV scaling. This ensures consistent texture density across the entire design.
UV Mapping Tools and Features
Using advanced UV mapping tools can make the process smoother and more accurate. Here are some helpful features:
1. Automatic UV Unwrapping
These tools generate initial UV layouts by analyzing your logo's geometry. While they can save time, manual adjustments are often needed to fine-tune the results.
2. UV Visualization
Visualization tools can help spot potential problems early:
3. Smart UV Tools
Some tools, like Logo Diffusion, specialize in converting 2D logos into 3D while optimizing UV layouts. They minimize distortion and focus on maximizing texture resolution in key areas.
For optimal results, aim to:
These UV mapping techniques work hand-in-hand with the lighting and material tips covered earlier, ensuring your 3D logo looks polished and professional.
Tip 5: Polish Through Testing
Once you've completed UV mapping, it's time to refine your 3D logo textures through thorough testing and adjustments.
Test Renders and Reviews
Experiment with your 3D logo in various scenarios to ensure it looks great under all conditions. Test for:
Post-Processing Steps
Refine your render with these post-processing techniques:
1. Color Correction
Ensure your logo's colors stay true to your brand:
2. Detail Enhancement
Bring out surface details while avoiding artificial effects:
Reference Material Comparison
Compare your render against high-quality references to fine-tune your work. Check for:
Using tools like Logo Diffusion's 2D-to-3D conversion features can help ensure your textures stay true to the original design while adding realistic depth. When comparing, test your logo under different lighting setups to catch any issues with texture behavior or material consistency.
Up next, discover how AI tools can simplify and enhance your 3D logo texture workflows.
AI Tools for 3D Logo Textures
Artificial intelligence is reshaping how 3D logo textures are created. With tools like Logo Diffusion, the process becomes faster and easier while still delivering professional results.
2D to 3D Logo Conversion
Logo Diffusion includes a 2D-to-3D conversion tool that turns flat logos into fully-rendered 3D designs. It analyzes the original design elements and adds depth, shading, and textures to create a polished 3D render. This feature provides a strong starting point for additional adjustments using AI-driven material options.
AI Material Presets
Once a logo is converted, AI material presets take things further by adding realistic textures. Logo Diffusion offers over 45 preset styles, including finishes like metallic, glossy, and matte, so users can match their logo's look to their brand's personality. Higher-tier plans, such as Pro and Elite, include advanced presets and higher-resolution outputs, along with a 4× upscaler to ensure textures remain sharp at any size.
For even more control, users can combine these AI tools with manual adjustments like lighting, material fine-tuning, and UV mapping. Highlighting the platform's effectiveness in professional design, founder Ali Rahmoun states:
"Logo Diffusion combines AI with design tools, allowing users to create logos from text prompts, redesign existing logos, and refine sketches using AI."
The platform is already trusted by over 200,000 users for their logo design projects.
Summary of 3D Logo Texture Tips
Creating lifelike 3D logo textures involves mastering several technical steps. Lighting is crucial - it sets the tone for realistic textures. Pair this with physically-based rendering (PBR) materials, which replicate the way surfaces interact with light for a natural look.
Key components of the process include high-quality texture mapping for detailed renders and precise UV mapping to maintain texture accuracy. Using multiple texture maps adds layers of depth, mimicking the complexity of real-world materials.
Testing is also essential. It ensures the logo appears consistent and realistic in various environments. Tools like Logo Diffusion simplify the workflow with texture presets and 2D-to-3D conversion features, helping designers create polished results while retaining creative control.
Achieving photorealism depends on balancing these elements. By focusing on details and refining through testing, designers can create logos that truly feel lifelike.
FAQs
How do PBR materials improve the realism of 3D logo textures, and what key settings should I adjust for different surfaces?
Physically Based Rendering (PBR) materials enhance realism by simulating how light interacts with different surfaces, making textures look more lifelike. PBR relies on properties like reflectivity, roughness, and metallicity to create accurate visual effects under various lighting conditions.
For different surface types, focus on these key settings:
Experiment with lighting and material combinations to achieve the most photorealistic results for your 3D logo designs.
What are the advantages of using HDRI lighting in 3D logo design, and how can you adjust it for various display settings?
HDRI (High Dynamic Range Imaging) lighting is a powerful tool for creating photorealistic 3D logos. It enhances realism by simulating real-world lighting environments, adding depth, reflections, and accurate shadows to your design. This makes your logo appear more dynamic and professional.
To adjust HDRI lighting for different display types, consider tweaking the intensity, rotation, and exposure settings. For brighter displays, reduce the lighting intensity to prevent overexposure. For dimmer screens, increase brightness or contrast to maintain visibility. Experiment with these adjustments to ensure your logo looks consistent across various devices and environments.
Why is UV mapping crucial in 3D logo design, and what common challenges should I watch for to ensure accurate textures?
UV mapping is essential in 3D logo design because it determines how a 2D texture wraps around a 3D object. Without proper UV mapping, textures can appear stretched, misaligned, or distorted, which can compromise the photorealistic quality of your logo.
To avoid common issues, ensure that your UV map has clean, non-overlapping islands and is scaled proportionally to the texture resolution. Watch out for stretching in areas with sharp curves or corners, and use tools like texture baking to preview and fix any inconsistencies. A well-executed UV map is key to achieving visually accurate and professional-looking results.
Elevate Your Brand with the Ultimate AI Logo Maker


