.webp)
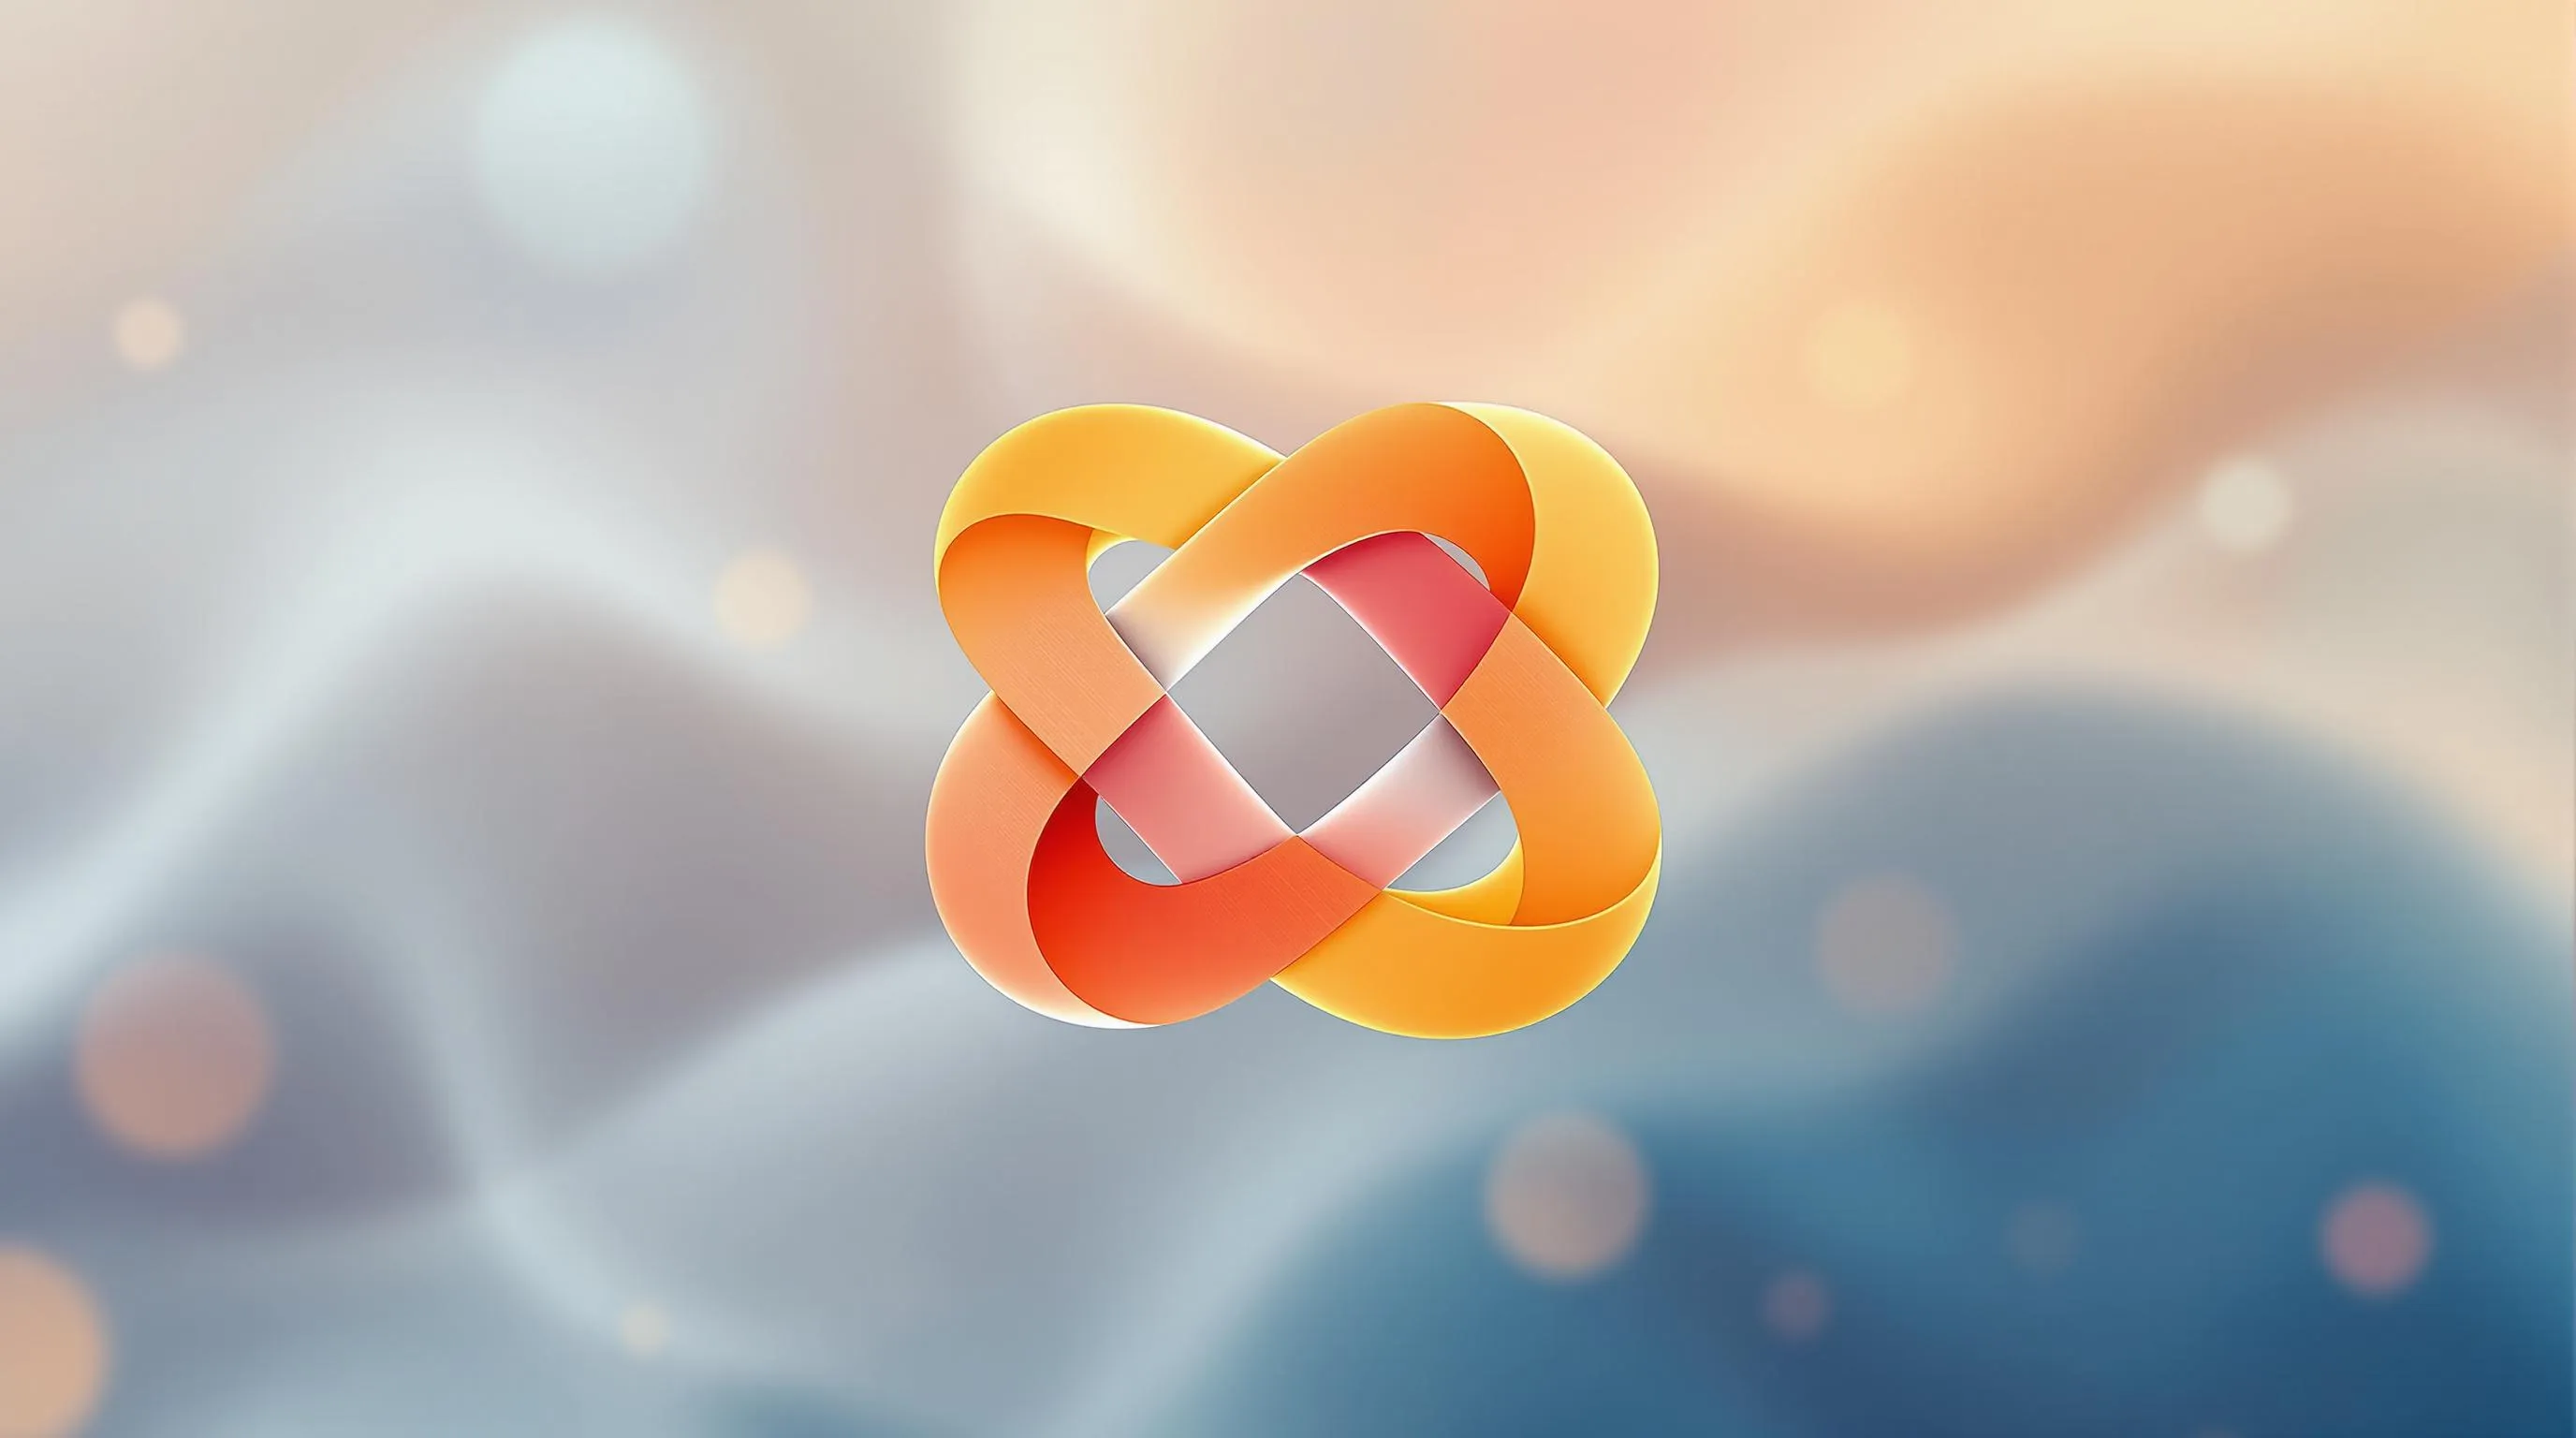

AI tools like Logo Diffusion make designing abstract logos easier than ever. The key? Writing clear and detailed prompts. Here’s how to guide the AI for the best results:
Pro Tip: Break your prompt into components like shape, style, color, and brand context for better results. Test, refine, and use tools like Logo Diffusion to upscale and export sharp, scalable designs.
When creating AI prompts for abstract logo designs, break your concept into clear, detailed components. This helps guide the AI to produce more accurate results.
Describe shapes with precision. Instead of vague terms like "modern shapes", try specifics such as "hexagons with sharp edges" or "overlapping circles with varying levels of transparency."
Be exact with colors and gradients. For instance, "a gradient from deep indigo (#2A2A8C) to electric blue (#0066FF)" is far more useful than simply saying "blue gradient." You can also use tools like Logo Diffusion to fine-tune colors after generating the design.
Define the style clearly to match your design goals:
Tie abstract elements to the brand's identity. For example, a tech company might use "interconnected, circuit-like patterns with sharp 90° angles" to reflect innovation and precision.
Use the table below to see how to enhance your prompts for better results:
If the output doesn't meet your expectations, add details like size ratios (e.g., "primary shape 60% larger than secondary elements") or positioning (e.g., "centered with an asymmetrical layout").
Specify details like "crisp edges" or "smooth vector paths" to ensure the logo scales well across different formats.
Basic geometric shapes form the foundation of abstract logo design, offering endless possibilities for creative variations. Achieving great results depends on precise proportions and thoughtful positioning.
Creating strong geometric logos starts with clearly defining the proportions and relationships between shapes. Here are some examples:
If you're looking to go beyond flat geometry, adding depth can bring a whole new dimension to your designs.
This approach adds a layered effect, making the design more visually engaging.
To refine your geometric designs, consider these parameters:
Natural flow patterns bring dynamic, abstract logos to life. To create prompts for these flowing designs, focus on capturing organic movement and incorporating curves that echo patterns found in nature.
The secret to crafting effective natural flow patterns lies in pairing descriptive terms with precise parameters. Here's a breakdown to guide your prompts:
These elements help create designs with smooth, cohesive movement.
To achieve dynamic motion, structure prompts with specific parameters. For instance:
"Design flowing curves with 3 interconnected streams, primary stream width 3px tapering to 1px, movement direction from bottom left to top right at a 35-degree angle, with a subtle 0.5 amplitude oscillation."
Maintain control over the fluidity by anchoring the design elements. Here's how:
For more intricate designs, combine multiple elements with precision. For example:
"Create a dual-spiral pattern, with the primary spiral rotating clockwise for 2.5 rotations and the secondary spiral counterclockwise for 1.75 rotations. Spiral arms should vary in width from 4px to 1px, with intersection points forming negative space at 15% transparency."
This approach allows for complex, layered designs that maintain a natural sense of movement.
Simple line designs build on geometric and flow techniques, offering clean and straightforward aesthetics. To create these designs effectively, it's important to describe line characteristics with precision.
Continuous Lines
"Create a continuous line with a 2px stroke that spirals outward from the center, completing 2.5 rotations with 8px spacing."
Geometric Lines
Varying Line Weight
Managing Intersections
To ensure designs are scalable and clear, follow these tips:
These guidelines ensure that Logo Diffusion produces .SVG files that stay sharp and adaptable for various sizes and uses.
Building on geometric shapes and flow patterns, hidden space designs introduce a layer of complexity by incorporating secondary imagery. When creating prompts, it’s important to describe spatial relationships clearly. This approach expands on earlier techniques focused on geometric and line-based designs.
Basic Template
"Create an abstract logo featuring a primary shape with a hidden element, defined by precise spatial relationships and clean edges."
Advanced Spatial Details
Here’s what to focus on:
For better results, keep these tips in mind:
Advanced Techniques
Take things further by layering negative space elements or using subtle transitions. These methods can add depth and complexity, making your design stand out and leave a lasting impression.
Repeating pattern logos take hidden space designs a step further, using symmetry and repetition to create strong visual identities. This method emphasizes repeating elements, scaling, and spacing to make a lasting impression.
To design a pattern:
For a more dynamic design, try these techniques:
Text-based abstract logos turn letters into works of art while maintaining a clear connection to the brand. These designs combine typography with abstract elements to create memorable identities.
These techniques allow you to merge style and functionality seamlessly in your designs.
When designing text-based abstract logos, focus on these essential aspects:
Start with a primary letter or word, decide on the degree of abstraction, and balance the design to maintain readability while introducing texture.
Take your designs further by experimenting with:
Each technique should work together to reinforce the brand's message.
Think about how the logo will look in different sizes and formats, from small business cards to large-scale billboards. It’s crucial to balance creativity with practicality to ensure the design works across all applications.
Set clear guidelines for spacing, stroke thickness, and any brand-specific limitations. These details ensure the logo remains consistent and professional in all uses.
A successful text-based abstract logo combines strong typography principles with creative flair, resulting in a design that stands out while effectively representing the brand.
Color blending adds depth and smooth transitions between hues, building on earlier techniques like form and flow. This approach focuses on color dynamics, enhancing the overall design by creating seamless gradient effects and adding dimension to logos.
To craft effective color blend prompts, keep these points in mind:
Multi-angle shapes break down a basic form into sections and reassemble them from various perspectives, resulting in a dynamic abstract logo.
With Logo Diffusion, you can guide the AI to experiment with multiple angles. For example, have it render a basic shape from both front and side views or combine its fragments into a single, dynamic figure. This approach takes familiar elements, deconstructs them, and reconfigures them into a balanced and eye-catching design. It builds on earlier geometric and spatial techniques, pushing logo design in fresh directions.
Digital distortion effects bring a modern, edgy feel to abstract logos by incorporating controlled glitches. With Logo Diffusion, you can create eye-catching designs that mix technological flaws with artistic purpose. This approach adds a futuristic vibe to your logos, complementing earlier techniques.
To achieve these effects, focus your prompts on specific digital artifacts. For example, you might request "pixelated fragments with smooth gradient transitions" or "controlled glitch patterns that maintain brand recognition." These details help the AI balance disruption with clarity.
Here are some useful elements to include in your prompts:
The style transfer feature in Logo Diffusion can further refine these effects while keeping the logo scalable. This ensures your design remains ready for production, even with intricate distortion applied.
To structure your prompts effectively, follow this format:
[base shape] + [distortion type] + [intensity] + [color treatment]
For example: "minimalist sphere with horizontal scan line distortion, moderate intensity, monochromatic blue gradient."
The goal is to balance artistic disruption with a polished, professional look. Your prompts should encourage controlled chaos, not random glitches, ensuring the final logo is both visually striking and functional for various uses.
Adding 3D elements to logos can bring depth and make designs more striking. With Logo Diffusion's 2D-to-3D feature, you can turn flat designs into eye-catching, multi-dimensional compositions.
By combining geometric shapes and distortion techniques, 3D elements give logos a more layered and dynamic feel. When working on 3D abstract logos, keep these key aspects in mind:
Here’s a simple formula for crafting your prompts:
[Base shape] + [3D transformation] + [Material] + [Lighting] + [Perspective]
For example: "floating geometric cube with beveled edges, brushed metal surface, top-left lighting, isometric perspective."
Logo Diffusion makes it easy to upscale and export these designs as sharp vector files.
To refine the depth effect in your 3D logos, try these combinations:
Keep the design clear and recognizable from all angles. Use the platform's style transfer tools to experiment with different 3D effects while staying true to your original concept.
To create better logo prompts, focus on testing and refining each part of your prompt. Logo Diffusion's tools make it easy to tweak and improve your designs quickly. By breaking your prompt into key components, you can fine-tune every detail for a polished result.
Here’s how to structure your prompt for clarity and precision:
1. Core Shape Description
Start with a clear description of the main elements. For example, "interlocking hexagons with curves" sets a solid base for the design.
2. Style Details
Include specific style elements like form, texture, and effects. Use this structure:
[Base Shape] + [Style Modifier] + [Additional Effects]
3. Brand Context
Incorporate the brand's industry, values, and color choices to add depth and relevance. Here's a quick guide:
Once your prompt is ready, test it systematically:
For more complex or abstract designs, break the concept into layers. Use this structure:
Base: "floating geometric framework"
Detail: "intersecting line patterns"
Effect: "subtle displacement mapping"
Finish: "matte metallic surface treatment"
When you're happy with the design, use Logo Diffusion's upscale features to keep details sharp and clear as you finalize your logo. This ensures your work remains crisp and professional at every stage.
AI has transformed abstract logo design, making it easier than ever to create professional-quality logos. Platforms like Logo Diffusion showcase this shift, offering tools that combine automated features with precise creative control. With over 200,000 users already on board, it's clear that AI-driven logo design is reshaping how brands develop their visual identities.
By mastering prompt techniques and using features like vector exports and 2D-to-3D transformations, users can explore countless abstract logo options. Turning flat 2D ideas into dynamic 3D visuals unlocks new ways for brands to express themselves.
Here’s a quick breakdown of the key elements behind effective prompts:
As AI tools continue to advance, platforms like Logo Diffusion strike the perfect balance between human creativity and machine precision. Whether you're a designer or a business owner, these tools make it possible to craft standout, professional logos with ease.
Ethan Brookes is a product-focused content writer covering AI tools, branding, and SaaS workflows. He writes practical guides on using AI for real-world design and product use, with a focus on brand-ready outputs and scalability.


.webp)
.webp)
.webp)