3D logo texturing transforms flat logos into visually engaging, lifelike designs by applying realistic surface finishes like metal, wood, or fabric. Here's how to get started:
Why Use Textured 3D Logos?
Makes logos visually striking and memorable.
Works across digital, print, and physical platforms.
Gives a professional, polished brand image.
Tools to Simplify the Process:
Use AI tools like for 2D-to-3D conversion, style transfer, and texture application.
Steps to Texture a 3D Logo:
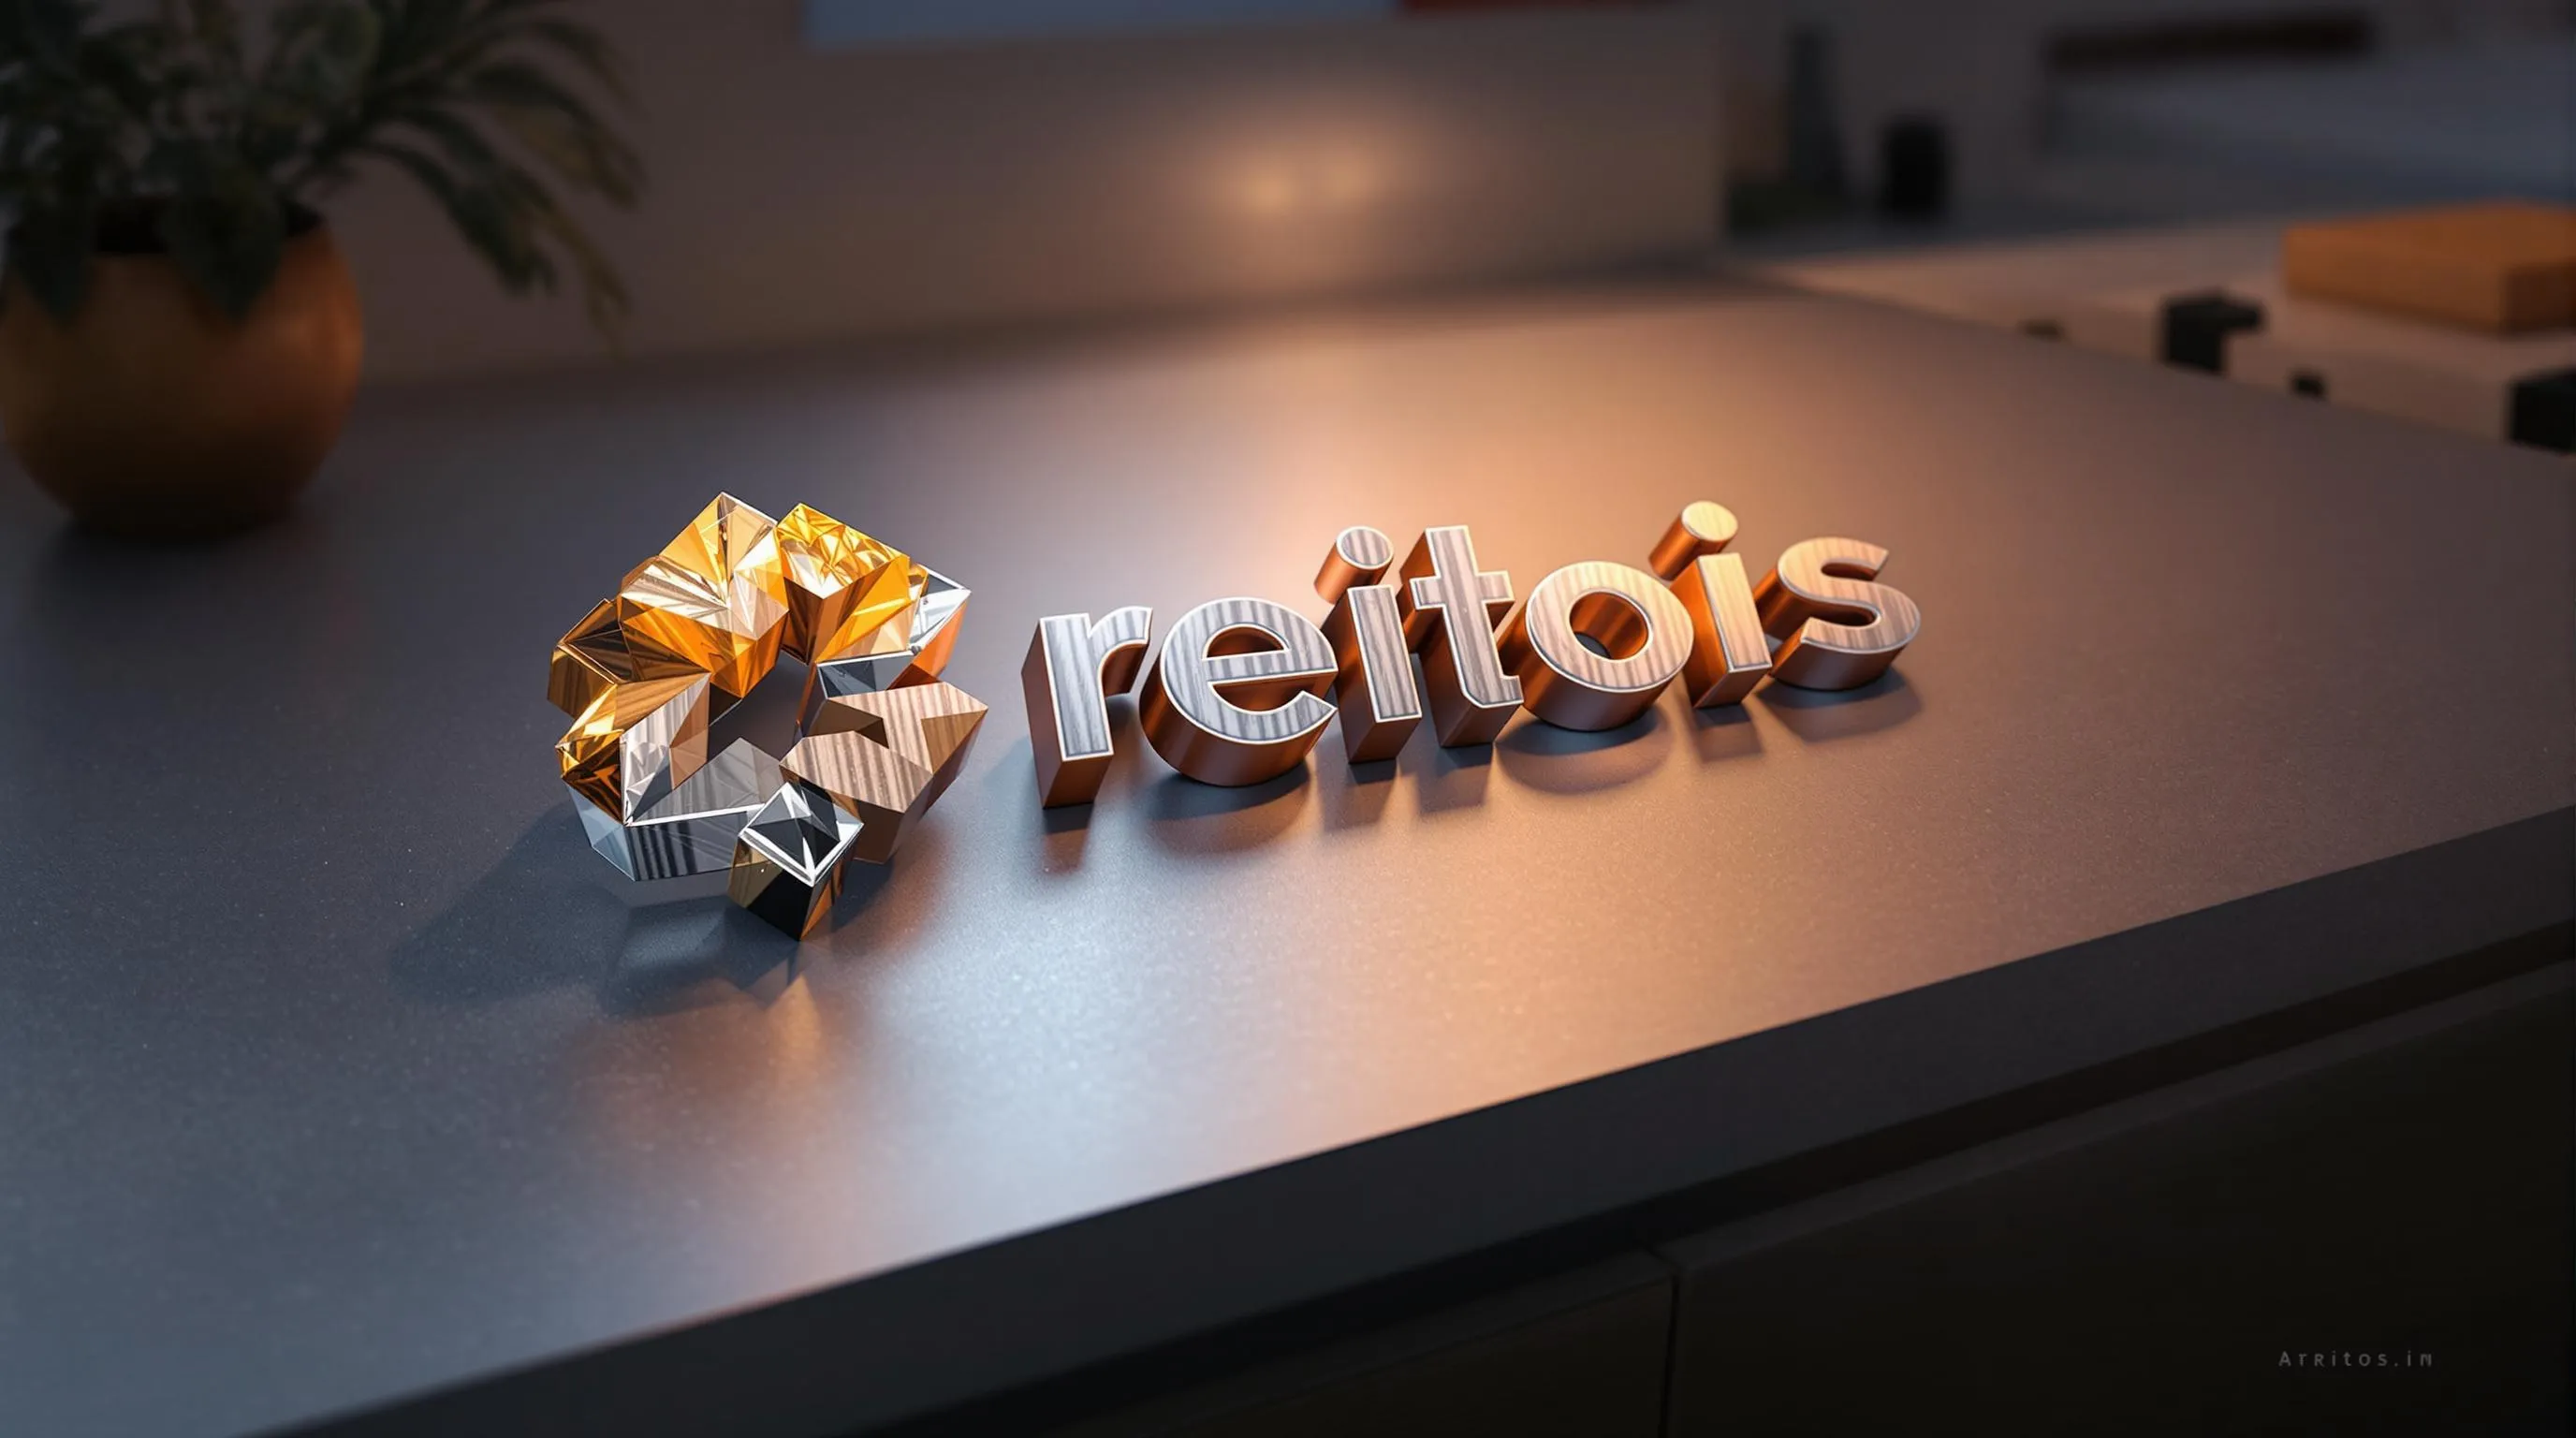
Convert your 2D logo to a 3D model using tools like Logo Diffusion.
Apply UV mapping to align textures properly.
Choose textures that match your brand (e.g., metallic for luxury, wood for eco-friendly).
Fine-tune texture application with layers, blending, and adjustments.
Add lighting to enhance texture details.
Export in high resolution for digital or print use.
Export Options:
Use SVG for scalability, PNG-24 for web, or 4× upscaled for large prints.
Key Tip: Start simple. Use clean designs and experiment with basic textures before diving into advanced techniques. AI tools handle technical details, letting you focus on creativity.
Setup for 3D Logo Texturing
Follow these steps to prepare your 3D logo for texturing.
Getting Your 3D Logo Ready
Logo Diffusion can transform 2D logos into 3D models using accurate depth mapping. Start with a high-quality vector file for the best results:
Upload a high-resolution vector file.
Use the Logo Diffusion conversion tool to generate your 3D model.
Save the converted model in vector format for further editing.
Once the 3D model is ready, you'll need to understand UV mapping to align textures properly.
Basics of UV Mapping
UV mapping is the process of projecting 2D textures onto a 3D surface. It involves unwrapping your 3D logo to create a flat template for applying textures.
UV Mapping Component
Purpose
Effect on Texturing
UV Coordinates
Define where textures are placed on the surface
Controls how textures wrap around the model
Seams
Indicate where the UV map splits
Impacts the smoothness of texture transitions
UV Layout
Arranges UV islands efficiently
Affects texture resolution and detail distribution
Pre-texturing Checks
Resolution Requirements
Upscale the logo to at least 2048x2048 pixels using Logo Diffusion's upscaling tool.
Inspect the geometry for clean, well-defined edges.
Confirm that surface normals are oriented correctly.
Model Optimization
Check the topology for any gaps or overlapping geometry.
Verify that the model's scale and proportions are accurate.
Ensure the UV layout uses texture space efficiently to avoid wasted areas.
Selecting Logo Textures
Choosing Textures That Match Your Brand
When picking textures for your logo, make sure they align with your brand's identity. Here are some key points to consider:
Material Relevance: Choose textures that represent materials tied to your industry. For instance, a construction company might favor concrete or metal textures, while an eco-conscious brand might lean toward wood or natural stone.
Visual Focus: Use textures to draw attention to key parts of your logo. Contrasting textures can add depth and highlight certain elements, all while keeping your logo clear and readable at any size.
Texture Type
Ideal For
Conveys
Metallic
Tech, Luxury, Industrial
High-end, Modern, Durable
Wood Grain
Eco-friendly, Crafts, Natural
Organic, Timeless, Earthy
Fabric
Fashion, Lifestyle, Comfort
Warm, Friendly, Relatable
Stone
Architecture, Finance, Security
Solid, Reliable, Long-lasting
Trusted by over 250k+ users
Once you've chosen textures that fit your brand, focus on sourcing or creating them with precision for a polished look.
Finding or Creating Textures
After deciding on textures that match your brand, the next step is to source or create high-quality ones for the best results.
Procedural Textures: These are great for unlimited resolution and flexibility, especially for abstract or repeating patterns.
Photographic Textures: Use high-resolution images (at least 2048x2048 pixels) for sharp details. When photographing textures, ensure even lighting, shoot from a straight angle, and avoid shadows to maintain consistency.
Once you’ve selected your textures, Logo Diffusion can help you apply them seamlessly. This tool uses AI to make the process smooth and precise.
Logo Diffusion includes features like style transfer and control tools, allowing you to adjust texture scale, tiling, roughness, specular details, opacity, and even blend multiple textures together.
Smart UV Mapping: The platform automatically generates UV maps that fit your 3D logo perfectly. This ensures textures wrap around complex shapes without warping or distortion. The AI evaluates your logo's structure to create a flawless texture application every time.
Adding Textures to Your Logo
Texture Mapping Steps
Once you've selected your textures, open the texture mapping panel in Logo Diffusion. The AI will analyze your logo's shape and suggest UV placements for a natural, distortion-free wrap.
For logos with multiple elements, apply textures in layers:
Base layer: Start with the primary texture to set the overall look.
Secondary textures: Use these to highlight specific elements.
Accent layer: Add highlights or special effects to bring attention to key features.
Fine-tune each layer to ensure everything blends smoothly.
Fine-tuning Textures
Logo Diffusion provides precise adjustment tools and grid overlays, allowing you to control the scale, rotation, and position of each texture. Use these tools to ensure perfect alignment and balance.
Once individual textures are aligned, experiment with combining layers to create added depth and visual interest.
Multi-texture Techniques
After refining your base layer, you can add more textures to give your logo extra dimension. Blend additional layers at different opacities for subtle enhancements that don’t overpower the design. Masking tools let you apply textures to specific areas, ensuring contrasting finishes integrate seamlessly. The platform's AI also helps smooth transitions between textures, creating a polished and unified final look.
Final Steps and Export
Lighting and Shadows
Set up your lighting to bring out the best in your textured 3D logo. Position the main light source to emphasize texture details while avoiding overly harsh shadows. Add a secondary fill light to soften darker areas and maintain depth. For metallic or glossy finishes, use rim lighting to create subtle highlights along the edges.
Export Settings
Fine-tune your export settings for optimal results. Choose the resolution you need, stick with sRGB for digital use and CMYK for print, and enable anti-aliasing to keep edges smooth. Avoid heavy compression to ensure your textures remain sharp. If you’re using Logo Diffusion, its tools can make this process even easier.
Logo Diffusion Export Options
Logo Diffusion offers tools to simplify exporting while maintaining professional quality. With its Creative Upscaler, you can boost your logo’s resolution up to 4× its original size without losing texture clarity - perfect for large-scale projects. The platform also supports vector exports, ensuring your logo stays sharp and scalable. Plus, it includes seamless background removal for clean, transparent PNGs, ideal for marketing materials.
Here’s a quick guide to export formats based on your needs:
Format
Usage
Benefits
SVG Vector
Print materials, scalable use
Maintains quality and allows for editing
PNG-24
Digital media, web use
Supports transparency and delivers high quality
4× Upscaled
Large format printing
High resolution with preserved texture details
Summary
Here's a quick recap of how to master 3D logo texturing, step by step.
Process Overview
To transform a 3D logo, start by applying precise UV mapping. Next, use textures that align with your brand and ensure accurate mapping. Finish by fine-tuning lighting and export settings for the best results.
Logo Diffusion Features
Logo Diffusion uses AI-powered tools to simplify the texturing process. It combines automated 2D-to-3D conversion, style transfer, and high-resolution upscaling, making it easier to create polished designs.
Feature
What It Does
Style Transfer
Keeps your brand consistent
2D-to-3D Conversion
Automates the 3D transformation
4× Creative Upscaler
Delivers billboard-ready quality
Getting Started
Start with a clean logo design. Upload or create your logo using Logo Diffusion, then access the texturing tools through the style panel. Once you're happy with your design, export it in vector format to ensure consistent quality across all platforms.
If you're new to texturing, begin with simple textures and build on your skills. The platform takes care of the technical details, so you can focus on the creative side. Preview your logo at different sizes before exporting to ensure it looks great everywhere. These easy steps help you design textured logos that stand out and amplify your brand's visual identity.
FAQ
3D logo texturing is the step where you apply realistic surface finishes (metal, wood, fabric, stone, plastic) to a flat logo so it looks like a real object under light.
Use 3D texturing when the logo will appear in hero banners, product renders, video intros, ads, packaging mockups, or AR/VR visuals—not when you only need a simple website header.
The cleanest starting point is a vector logo (SVG/AI/EPS) because edges stay crisp and shapes stay editable.
If you only have a raster logo (PNG/JPG), aim for:
At least 2048×2048 px for a solid base
Clean background (or remove it first in Logo Diffusion with background removal)
High contrast edges (so details don’t “melt” when converted)
UV mapping is how a 2D texture image is “wrapped” onto a 3D surface—like fitting a label onto a bottle.
If UV mapping is wrong, textures look stretched, blurry, misaligned, or pixelated. Quick rules:
Keep UV “islands” straight for flat logo faces
Put seams where they’re least visible (back edges, inside cuts)
Keep consistent UV scale so one area doesn’t get sharper than another
Pick the texture based on the brand’s signal (what it should feel like at first glance):
Ethan Brookes is a product-focused content writer covering AI tools, branding, and SaaS workflows. He writes practical guides on using AI for real-world design and product use, with a focus on brand-ready outputs and scalability.
.webp)


.webp)
.webp)
.webp)