SVG files are essential for logos because they scale perfectly without losing quality, are lightweight, and work seamlessly across digital and print platforms. Here's how to export your logo as an SVG:
Quick Overview of SVG Benefits:
Feature
Benefit
Scalable Vector Rendering
Maintains quality at any size — ideal for icons, banners, and print materials
Small File Size
Faster loading times and improved website performance
XML-Based Format
Easy to edit and customize — quick updates to colors or styles
Resolution Independence
Perfect display on all devices and consistent branding everywhere
Follow these steps to create professional SVG logos that look great everywhere.
SVG Files for Logos: Core Concepts
SVG File Basics
Unlike raster formats like PNG or JPEG, SVG files rely on mathematical formulas to define shapes. Think of SVGs as a set of precise instructions for drawing logos, rather than a fixed grid of pixels. This makes them incredibly efficient, especially for logos with sharp lines and solid colors, as they require less storage space compared to raster images.
Advantages of SVG Logos
SVG logos offer more than just scalability. Here's a breakdown of their key features and practical benefits:
Feature
Benefit
Practical Use Case
Scalable Vector Rendering
Maintains quality at any size
From tiny icons to massive billboards
Small File Size
Speeds up loading times
Improves site performance and SEO
XML-Based Format
Easy to edit and customize
Quick updates to colors or styles
Resolution Independence
Displays perfectly on any device
Consistent appearance across screens
Best Uses for SVG Logos
Thanks to their technical strengths, SVG logos are perfect for a variety of applications:
Digital Uses:
Print Uses:
Dynamic Content:
Platforms like Logo Diffusion simplify the process of creating SVG files. Their vector export tool converts designs into clean SVG formats, ready for both digital and print use, ensuring your logos look professional everywhere.
In today's multi-platform world, SVG files are essential for maintaining consistent quality across digital and physical mediums, while also improving performance and visual clarity.
Pre-Export Logo Setup
Design Cleanup Steps
Before exporting your logo as an SVG, make sure to tidy up your design. Here's what to do:
Once your design is cleaned up, use professional design software to refine it further.
Recommended Design Software
Logo Diffusion includes tools to help you prepare and export your logo as a vector file. Here’s what it offers:
Feature
Function
Why It Matters
Sketching Tools
Built-in brushes and shapes
Helps create precise vector elements.
Vector Export
Direct SVG file generation
Provides production-ready assets.
Font Integration
Typography management
Makes text-to-outline conversion easy.
Color Controls
Brand color customization
Ensures consistent color usage.
These features simplify the process of getting your logo ready for SVG export.
Color and Transparency Settings
Properly setting up colors and transparency is crucial for a polished design:
Color Mode Settings:
Transparency Configuration:
Logo Diffusion ensures accurate color representation and maintains transparency settings during the SVG export process.
Finally, preview your logo at various sizes to confirm it scales well and retains its intended look. Once verified, you're ready to move on to the SVG export process.
SVG Export Steps
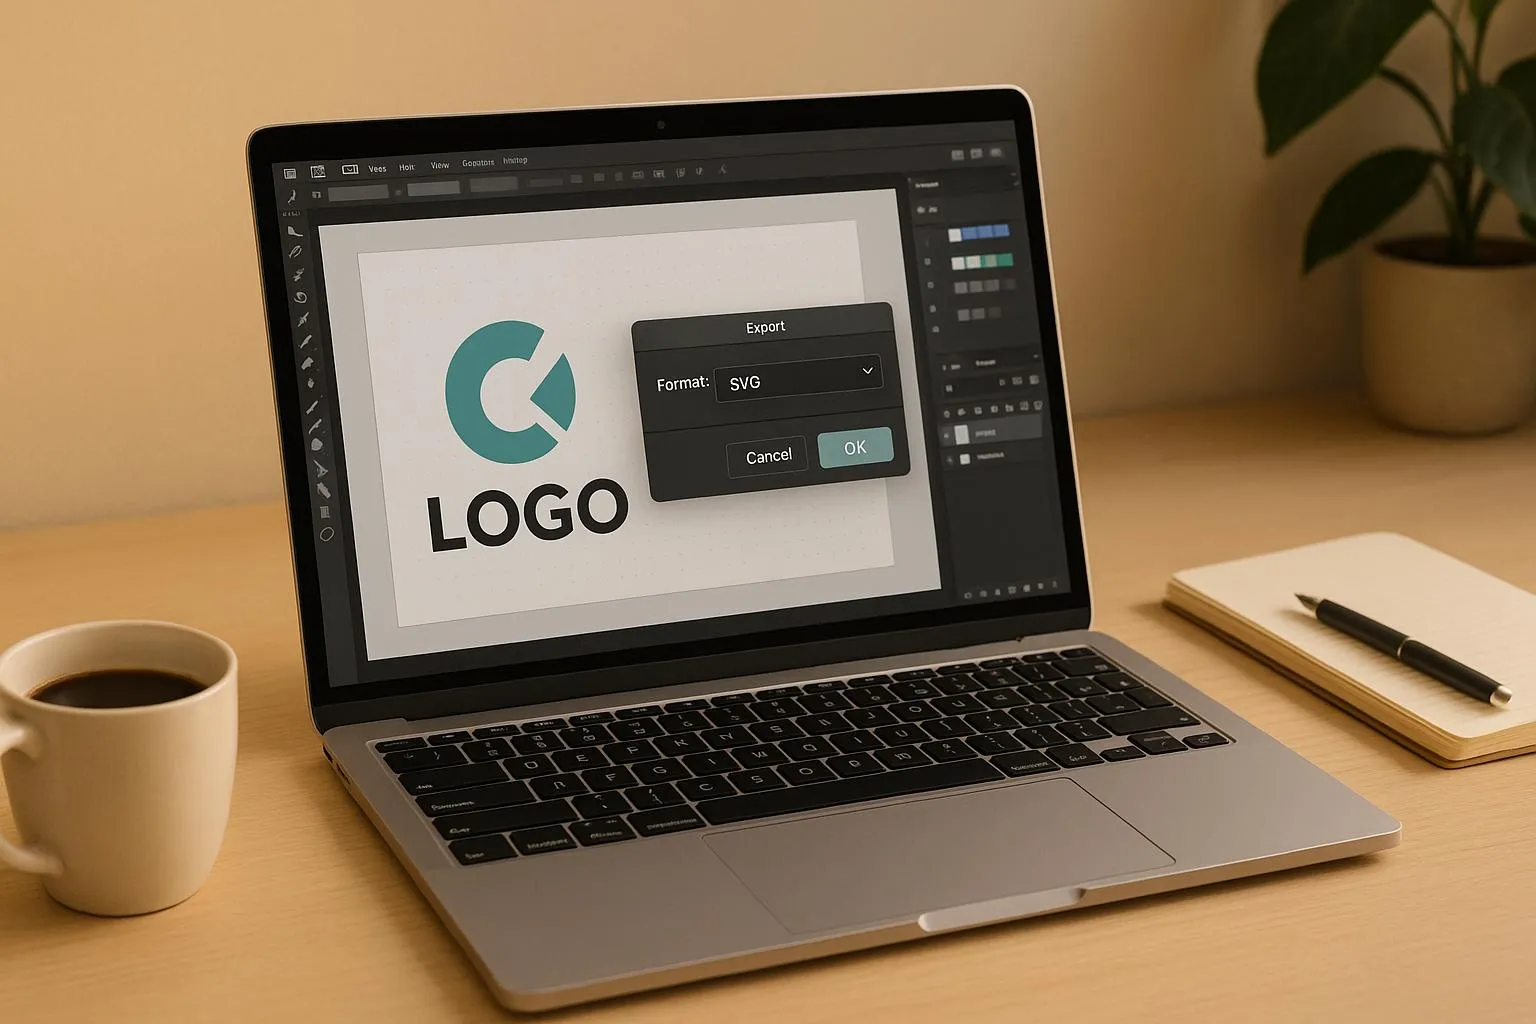
Logo Selection
Start by selecting all elements of your logo. If the design is complex, group the elements together. Double-check to ensure every important part of the design is included.
Export Menu Navigation
Once done, move on to setting up the SVG export options for the best results.
SVG Settings Configuration
To get a high-quality SVG file, adjust the export settings as shown below:
Setting
Recommended Value
Purpose
SVG Version
SVG 1.1
Ensures compatibility across various platforms.
Precision
2
Balances file size with precision.
Minification
Enabled
Reduces the file size for better performance.
Font Embedding
Disabled
Avoids potential font rendering issues.
Responsive Scaling
Enabled
Ensures the SVG scales properly across devices.
File Testing
After exporting the SVG, it’s important to test it across different platforms to ensure everything looks as intended.
If you notice any problems, revisit the export settings or tweak the original design as needed.
SVG Export Settings Guide
Export Settings Overview
Many design tools offer detailed export options, but Logo Diffusion simplifies the process. Its built-in vector export tool automatically converts your logo into a polished SVG file, ensuring it’s ready to use without compromising the design. Once your file is exported, keeping everything organized is key to maintaining a smooth workflow.
Organized File Management
After setting up your SVG export, organizing your files properly becomes crucial. Use clear and consistent naming conventions alongside a structured folder system to make file retrieval faster and easier. With Logo Diffusion’s automation, you can concentrate on your creative tasks while the platform takes care of the technical aspects.
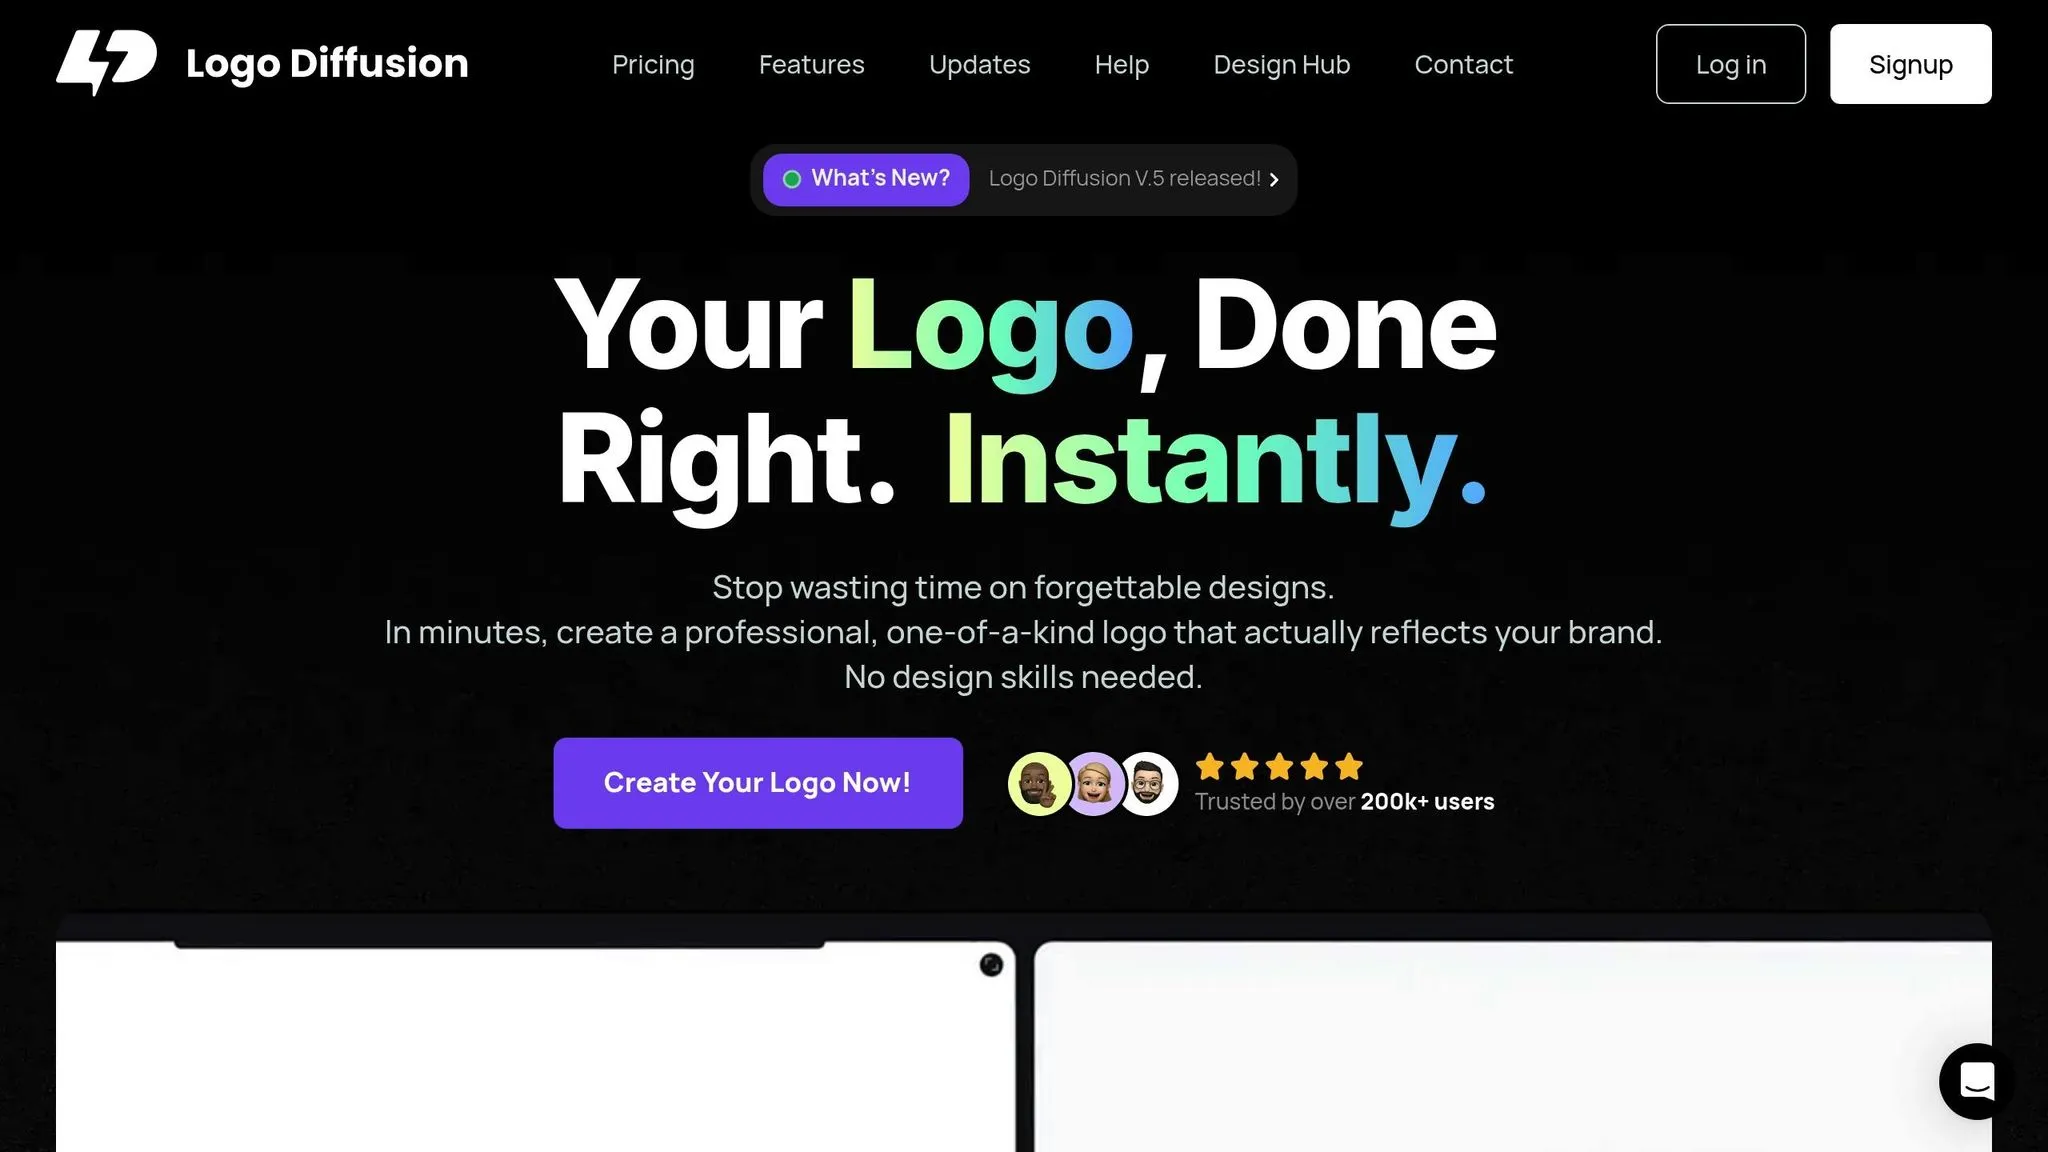
Trusted by over 250k+ users
Export Problems and Solutions
Building on pre-export setup guidelines, this section focuses on common export challenges and how to tackle them effectively.
Common Export Issues
Exporting SVG logos often comes with hurdles. Issues like color distortion can affect how your brand is represented, while transparency loss may lead to unwanted backgrounds or visual artifacts. Scalability can also be a problem when complex designs aren't properly vectorized, resulting in pixelation or distortion during resizing.
Issue
Impact
Root Cause
Color Distortion
Inconsistent brand representation
Incorrect color space settings
Lost Transparency
Unwanted backgrounds
Improper layer management
Poor Scalability
Pixelation when resized
Elements not converted to vectors
Missing Details
Loss of design elements
Complex patterns not properly converted
Problem-Solving Guide
Logo Diffusion simplifies the process of addressing color, transparency, and scalability problems. Its vectorizer tool ensures smooth SVG output while preserving your design's quality.
Here’s how to fix these issues:
With these tools and export options, you can consistently achieve a polished, professional logo.
Logo Diffusion combines AI-powered design with professional-grade vector export, simplifying the creation of SVG files. Its Vectorizer tool transforms any logo design into sharp, scalable SVG files without losing quality or detail.
Here’s a quick look at the platform's key features:
Feature
Functionality
Purpose
Vectorizer
Converts raster images to vectors
Produces scalable logos
Creative Upscaler
Refines design details
Enhances resolution
Background Removal
Removes unwanted backgrounds
Delivers clean exports
Color Controls
Adjusts brand colors
Ensures color accuracy
Now, let’s explore how to use these tools effectively during the SVG export process.
SVG Export with Logo Diffusion
Logo Diffusion makes exporting SVG files simple for both beginners and experts, offering built-in optimization features to ensure high-quality vector results.
Here’s the export capacity by plan:
Plan
Monthly Exports
Included Features
Basic
50 exports
2x upscaler, background removal
Pro
100 exports
4x upscaler, background removal
Elite
200 exports
4x upscaler, background removal
Enterprise
400 exports
Custom-trained models, dedicated GPU servers
Steps for a smooth export:
The Vectorizer tool handles complex conversions seamlessly, preventing issues like pixelation or detail loss during the process.
Summary
Main Points Review
SVG exports ensure logos look sharp on any platform. Here are the main advantages of using SVG logos: they scale infinitely without losing quality, have small file sizes, and render perfectly on any device. When exporting logos as SVG files, pay attention to these key factors:
Task
Action
Purpose
Design Cleanup
Remove unnecessary nodes
Reduces file size
Color Settings
Use RGB color space
Ensures compatibility for web
File Structure
Organize layers systematically
Makes future edits easier
Vector Quality
Convert all elements to paths
Keeps design consistent
By following these principles, you can produce high-quality SVG logos that are ready for any platform.
Getting Started
Use these steps to create efficient and high-quality SVG exports for your logos:
Logo Diffusion simplifies this entire process. Its Vectorizer tool automates complex conversions and optimizations, ensuring your design remains intact. The Creative Upscaler enhances detail for crisp results, while the Background Removal feature ensures a clean, polished look.
For the best outcomes, take advantage of Logo Diffusion's robust toolset. Features like precise color controls and optimization options help you maintain design quality and consistency, making your logos production-ready for any use.
FAQ
SVG is best when the logo needs to stay razor-sharp at any size (favicons, headers, UI icons) because it’s a vector format. PNG is better for complex raster effects (heavy textures, photo elements) or when a platform doesn’t support SVG. A common “safe set” is SVG for web + transparent PNG for fallback.
SVG isn’t ideal for many print workflows, especially when a printer expects PDF/EPS or needs specific colour handling (CMYK/Pantone). For print, export PDF/EPS (and keep the editable source file) so the artwork stays vector and press-ready.
For clean rendering, keep shapes as true paths, avoid overly complex nodes, and ensure the file includes a proper viewBox so it scales responsively. If text must be pixel-perfect, convert text to outlines (paths) so font substitutions don’t change the look.
Colour shifts usually come from inconsistent colour values, transparency stacking, or viewing the logo on different display profiles. Use a defined brand palette (consistent HEX/RGB values), avoid accidental semi-transparent overlaps, and test the SVG on light/dark backgrounds in multiple browsers before publishing.
If the font isn’t available on the viewer’s machine, SVG text can reflow or render with a substitute font. The most reliable fix is to convert text to outlines before export (especially for final logo masters). Keep a version with editable text as your working file.
This often happens when clipping masks, strokes, or tiny details don’t translate cleanly into paths. Check for: hidden masks, overlapping shapes, ultra-thin strokes, and overly dense path points. Simplifying geometry and rebuilding problem areas as clean shapes usually fixes it.
Reduce node count (path simplification), remove unused groups/layers, and enable minification when exporting. Avoid unnecessary metadata and duplicate shapes. A smaller SVG loads faster and is easier for developers to ship without layout or performance issues.
Logo Diffusion includes a Vector Export workflow plus support tools that improve the file before export: Vectorizer (raster → vector), Background Removal (clean transparency), Colour Controls (brand palette alignment), and Creative Upscaler (sharper detail for finals). This is useful when you need production-ready assets without rebuilding everything by hand.
Yes—Logo Diffusion’s Vectorizer can convert raster logos into scalable vectors, which helps when the original source file is missing. For best results, start with the cleanest raster you have (high resolution, strong contrast, minimal noise), then refine shapes before exporting.
SVG export capacity depends on the subscription tier. In the current plan overview shown, Basic includes 50 exports/month, Pro 100, Elite 200, and Enterprise 400 (with additional enterprise-level capabilities). If exports are a daily workflow, choosing a tier based on expected monthly output avoids interruptions.
Use this sequence: clean geometry → confirm colours → remove background (if needed) → convert text to outlines (final master) → export SVG → test at tiny and large sizes. Then save a package: SVG (web), PNG (transparent fallback), and PDF/EPS (print).
Keep a simple structure: /Master (editable), /Web (SVG + PNG), /Print (PDF/EPS), and /Icons (small variants). Use consistent naming like BrandName_Logo_Primary_v3.svg so updates don’t overwrite files and teams always know what’s current.
Ethan Brookes is a product-focused content writer covering AI tools, branding, and SaaS workflows. He writes practical guides on using AI for real-world design and product use, with a focus on brand-ready outputs and scalability.
.webp)


.webp)
.webp)
.webp)