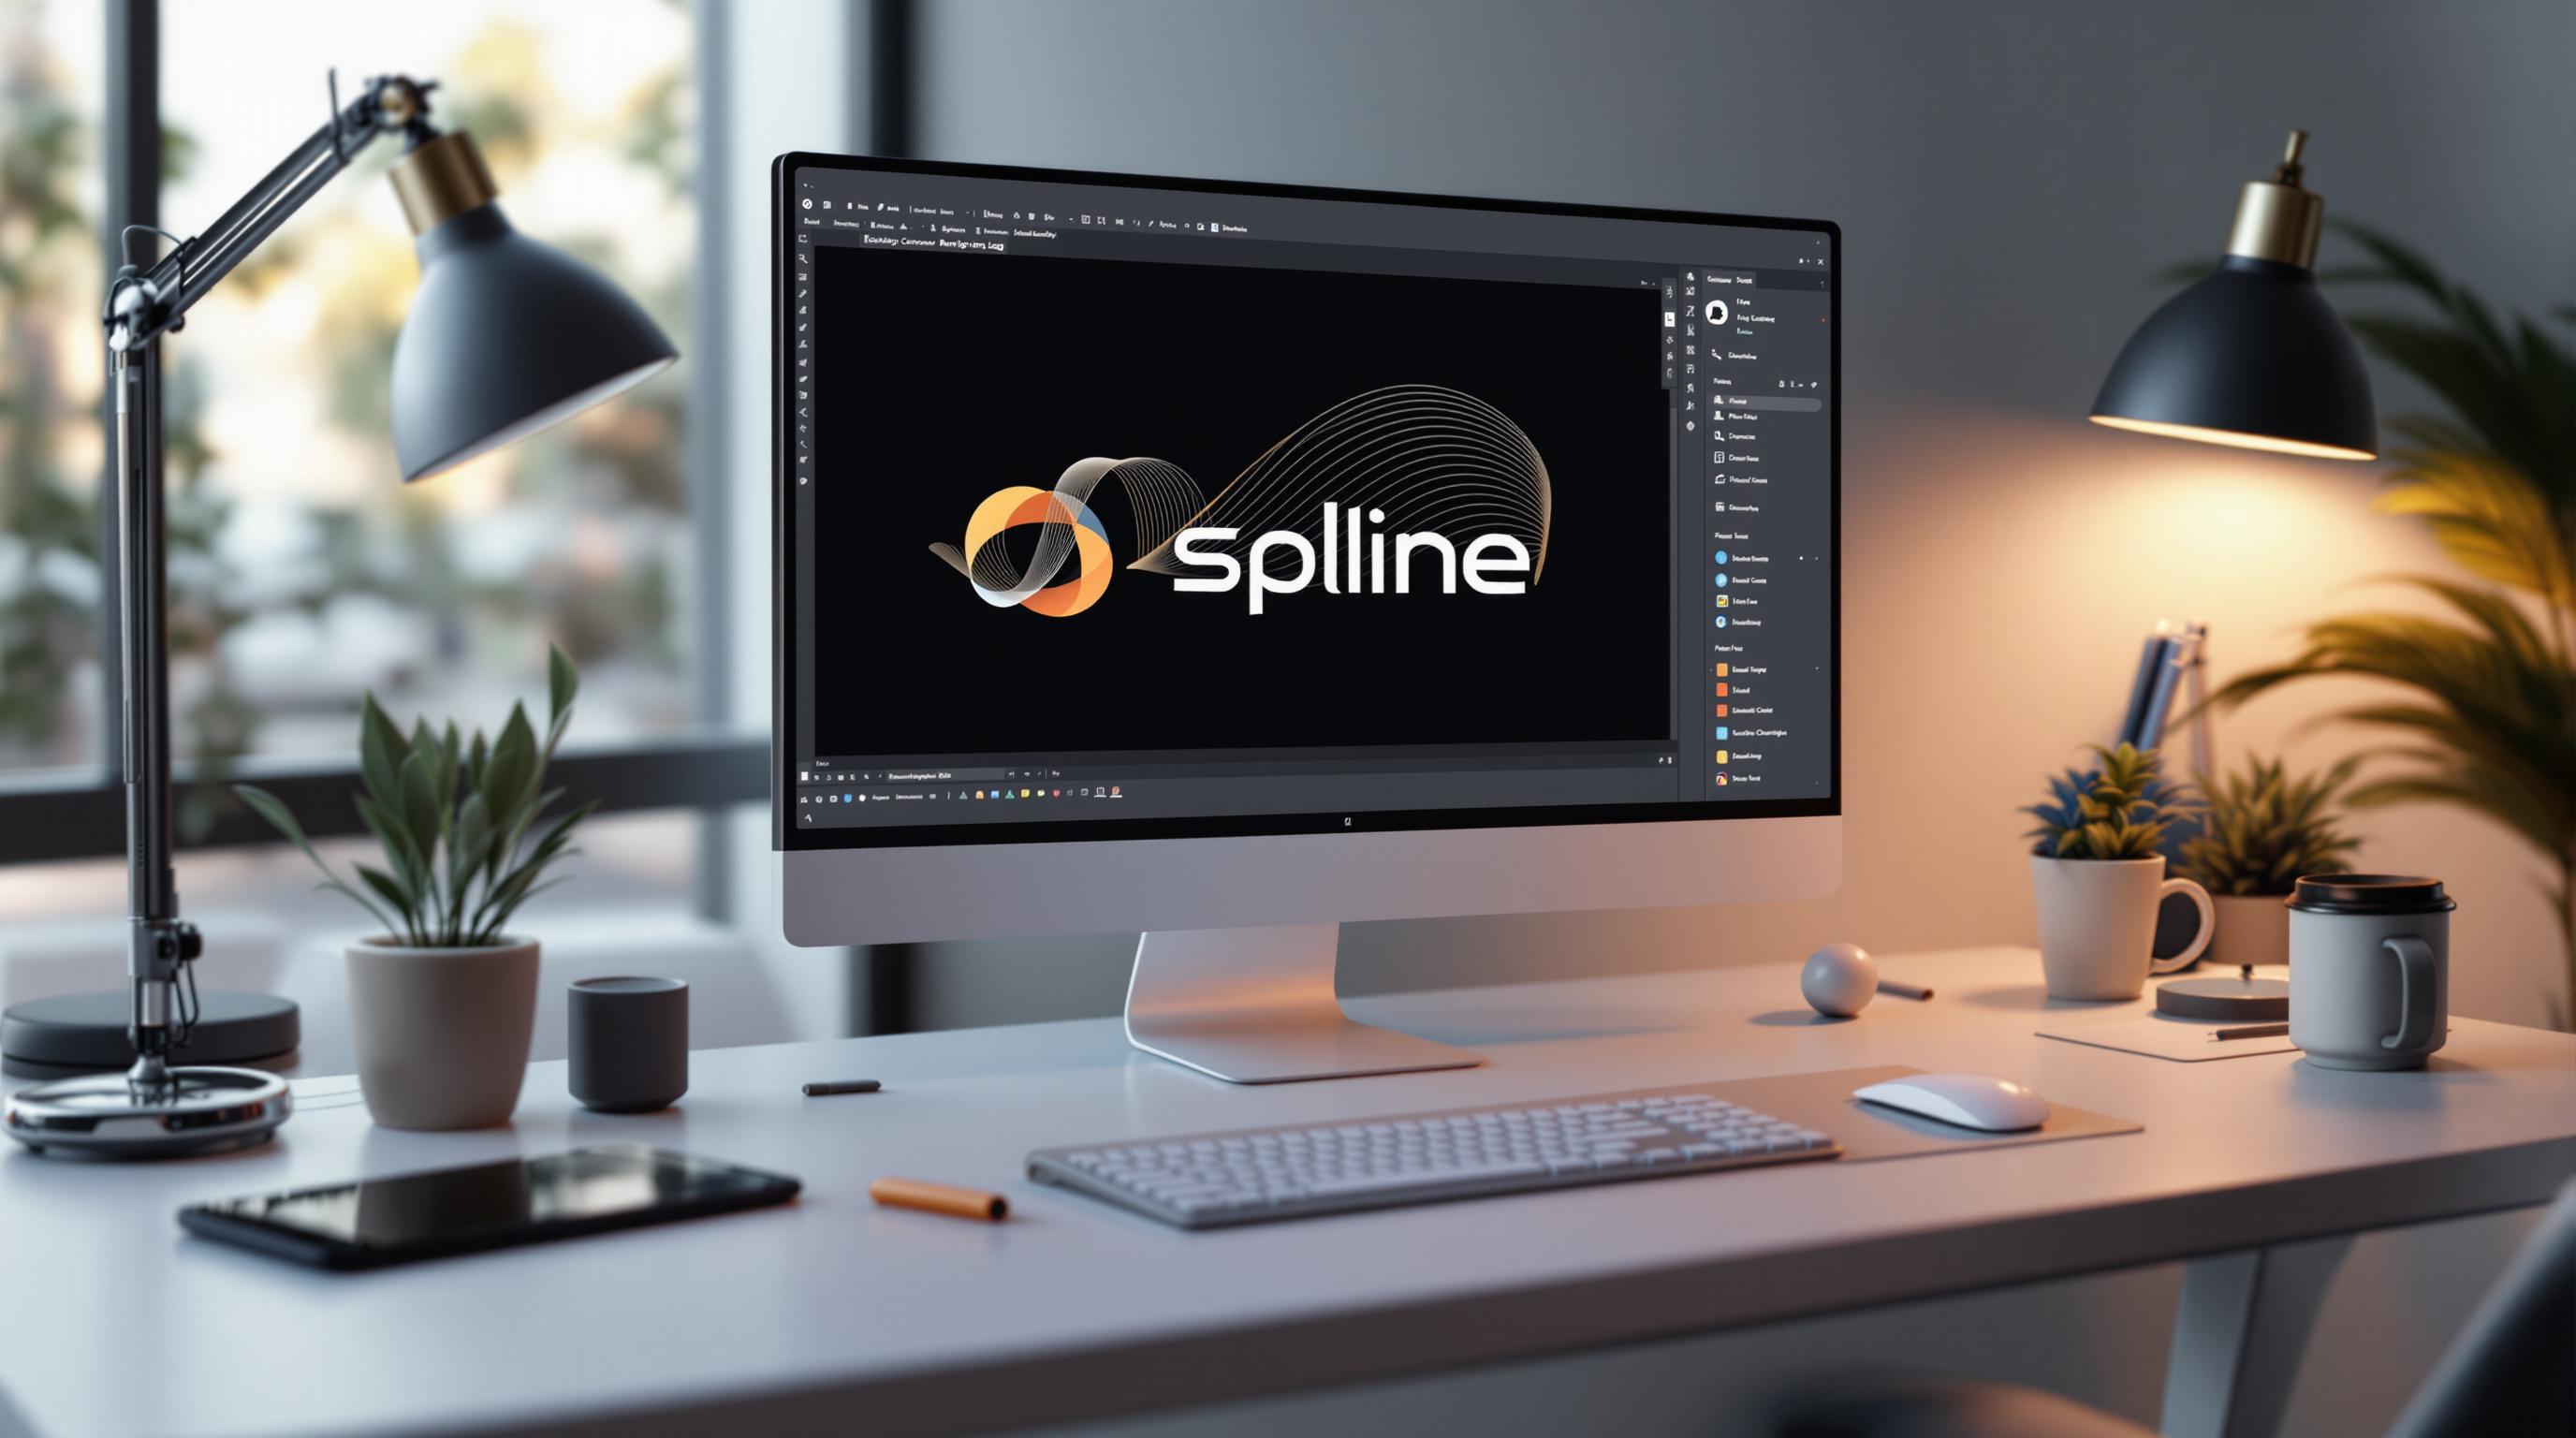

Spline modeling is a method for creating smooth, precise curves and surfaces in 3D space, essential for crafting professional 3D logos. Here's what you need to know:
Quick Tips:
Spline modeling is the foundation for creating polished, versatile 3D logos that stand out across platforms.
Workspace Setup
Selecting 3D Software
Pick software that offers strong spline tools for detailed curve adjustments and surface modeling. Logo Diffusion provides dedicated tools for creating 3D logos, including spline editing and AI-driven modeling options.
Setting Up Your Workspace
A well-organized workspace is key for accurate spline modeling. Adjust your viewport settings as follows:
Arrange your viewports to show both orthographic and perspective views at the same time. This setup allows you to monitor and adjust spline curves from various angles as you work.
Once your workspace is ready, bring in reference materials to guide your design process.
Adding Reference Materials
Logo Diffusion supports importing sketches, 2D logos, and grid overlays to assist with alignment and design:
Position reference images in the front view and add side views if needed. Adjust your workspace background to provide enough contrast with the reference materials, ensuring a comfortable and clear working environment.
Basic Spline Shapes
2D Spline Creation
Creating precise 2D splines is the foundation of 3D logo modeling. For smooth and clean curves, use fewer control points, placing them strategically.
Here’s a quick guide to control point types and their effects:
Enable snapping features for accurate placement of points. Logo Diffusion's spline tools come with smart snapping, which automatically detects common angles and alignments. This makes creating symmetrical shapes much easier.
Once the 2D shape is ready, you can move on to transforming it into a 3D object.
Converting to 3D
Transforming your 2D splines into 3D objects involves a few steps:
Logo Diffusion's AI-powered tools can automatically calculate the best extrusion settings for your logo, ensuring balanced proportions and a polished look.
Shape Combinations
Use boolean operations to combine or modify shapes effectively:
Before applying boolean operations, ensure that your splines are closed and normals are consistent. When handling multiple shapes, organize them into layers and use clear naming conventions to keep track of each component.
Logo Diffusion offers real-time previews of boolean operations, allowing you to see changes instantly. Plus, its built-in optimization tools can fix common geometry issues during shape combinations.
These steps complete the basic shaping process, paving the way for more advanced spline modeling techniques.
Advanced Spline Techniques
Lofting and Sweeping
Lofting and sweeping are powerful methods for creating intricate 3D shapes using paths and profiles. These techniques are especially handy for designing dynamic logo elements with varying cross-sections. When lofting between splines, ensure the vertex counts are consistent to avoid unwanted surface issues. Adjust the arrangement of profiles to control the level of detail and smoothness in the final shape.
For sweeping, guide curves can help dictate how the profile moves along the chosen path. This is particularly useful for effects like wrapped text or flowing ribbons in your 3D logo. Once you've created your shapes, focus on refining the surface to achieve a polished look.
Surface Smoothing
A clean, professional surface finish is essential for any 3D logo. Here’s how you can improve surface quality:
For added precision, consider using Logo Diffusion’s AI tools. These tools analyze your spline geometry and automatically optimize surface topology. They focus on refining areas that need extra detail while keeping sharp edges intact, ensuring a clean and professional finish.
AI-Assisted Conversion
Once your shapes and surfaces are refined, AI tools can take your design to the next level. Logo Diffusion’s platform provides advanced AI-driven features to streamline the process:
"Stop wasting time on forgettable designs. In minutes, create a professional, one-of-a-kind logo that actually reflects your brand. No design skills needed." - Logo Diffusion
The platform’s AI engine can:
For complex spline models, use Logo Diffusion’s 2D-to-3D conversion tool to experiment with depth and styling options. To get the best results, export your spline models in vector format before running them through the AI tools. This ensures the highest quality and makes future edits easier, giving you a professional and adaptable 3D logo.
Finishing Your 3D Logo
Adding Materials
Complete your 3D logo by applying materials that reflect your brand's style. For a metallic look, use reflective materials with highlights to create a shiny effect. For a matte appearance, adjust the roughness to achieve a smooth, non-glossy surface.
Apply materials thoughtfully to highlight key elements while keeping the overall design balanced. Once materials are applied, ensure your model is optimized for smooth performance across different platforms.
Model Optimization
To optimize your model:
For web use, aim to keep the polygon count below 50,000 triangles while retaining important details.
File Export Options
Select the right file format based on your needs:
Keep both 2D and 3D versions of your logo for maximum flexibility.
Summary
Spline modeling lets you turn simple 2D designs into polished 3D logos with precise curves and smooth finishes. Tools like Logo Diffusion's 2D-to-3D conversion and vector export features make it easier to create sharp, editable 3D designs.
Key points to remember:
"Stop wasting time on forgettable designs. In minutes, create a professional, one-of-a-kind logo that actually reflects your brand. No design skills needed." - Logo Diffusion
Finish your logo with smooth curves and optimized geometry for consistent results across digital and print media, while keeping the workflow efficient.
Elevate Your Brand with the Ultimate AI Logo Maker


