.jpg)
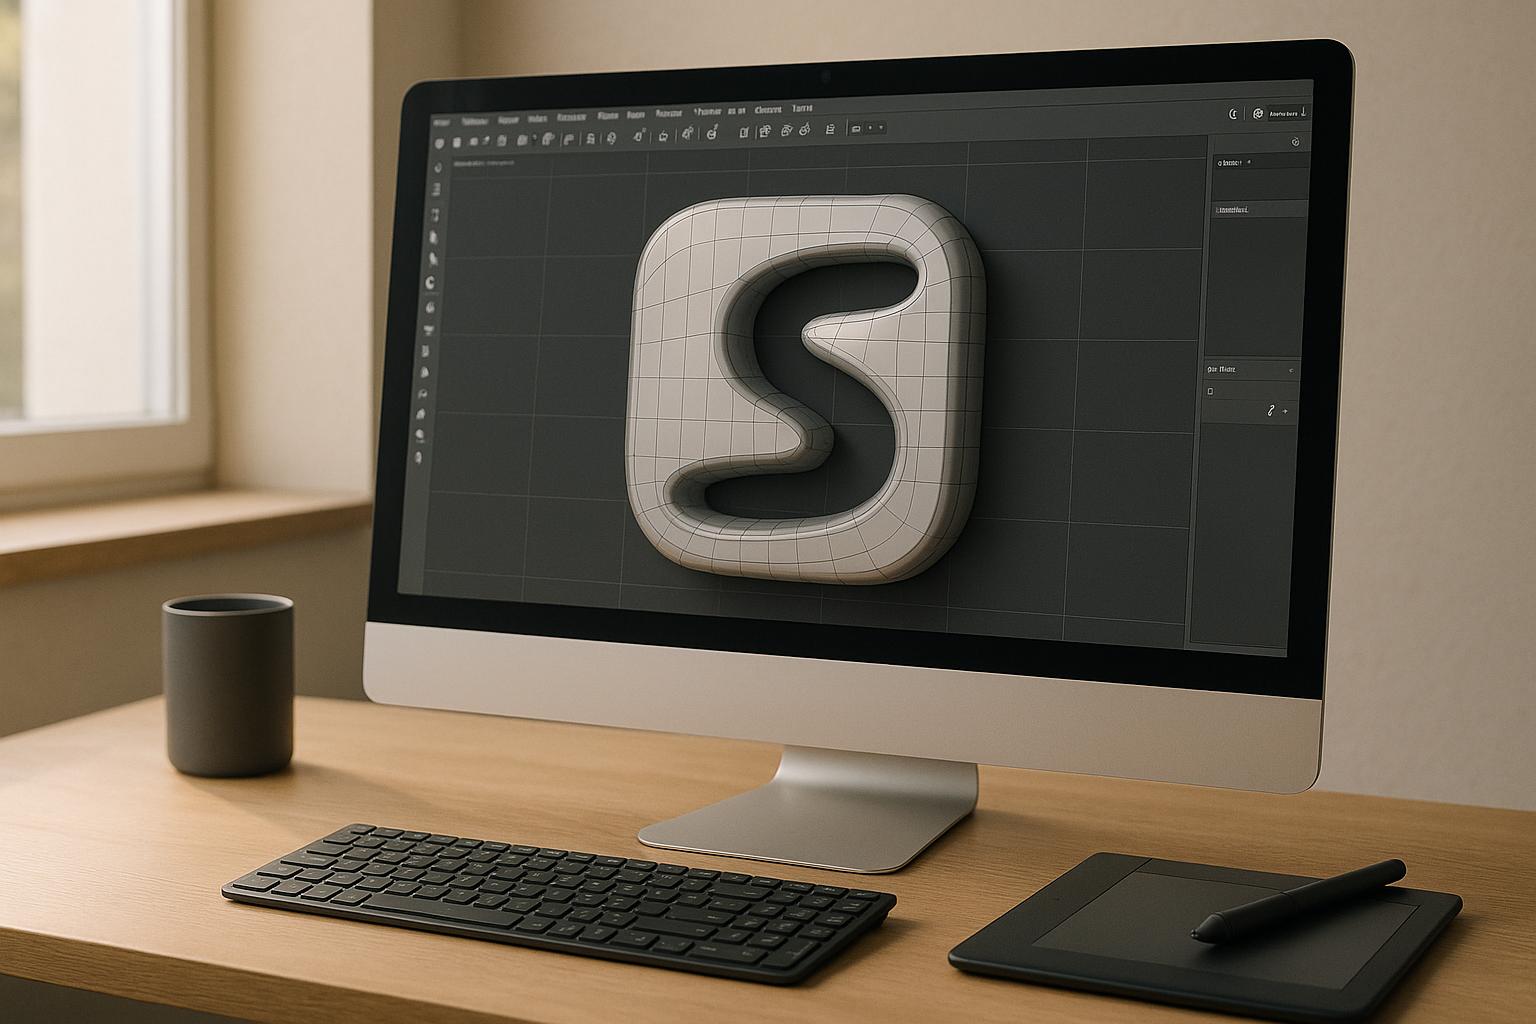

Subdivision modeling is a method used to create smooth, polished 3D logos from basic shapes. It combines the precision of polygonal modeling with the fluidity of NURBS, making it ideal for animated and interactive branding. Here’s what you need to know:
Tools like Logo Diffusion simplify the process by converting 2D logos into optimized 3D meshes, saving time and ensuring accuracy. Whether you’re creating text-based logos or intricate designs, subdivision modeling ensures a sleek, professional finish.
Subdivision surface modeling is a technique that transforms basic meshes into smooth, refined 3D logos by progressively enhancing their detail. It strikes a balance between the precision of polygonal modeling and the fluid, polished look often required for brand designs.
Subdivision works by breaking down polygons and adjusting vertex positions through multiple iterations, gradually refining the mesh. Here's how it progresses:
Once the subdivision process is in motion, the focus shifts to crafting a well-structured mesh. The way polygons and edges are arranged plays a crucial role in determining how smoothly the logo subdivides and how well it retains its intended design. Here are some essential principles:
Edge flow is especially critical for preserving the defining features of a logo. For instance, when working with letterforms, edge loops should closely follow the curves of each character to maintain their unique shapes. Additional edge loops are essential in areas where sharp transitions or precise details are necessary, such as:
To simplify this process, Logo Diffusion's 2D-to-3D conversion tools automatically create base meshes with optimized edge flows, ensuring the logo's design stays true to its original form.
Turning a 2D logo into a 3D model for subdivision requires careful preparation to ensure the final design looks polished and retains its defining features. This process involves converting flat designs into 3D-ready formats and setting up proper edge flows to preserve the logo's distinct details. Let’s break down how to effectively transform 2D logos into optimized 3D models and refine them with precise edge loop placement.
The first step is importing your vector logo into a 3D modeling program. Start with a clean vector file in formats like AI, EPS, or SVG. Make sure the paths are closed and the curves are smooth, as this will save you a lot of trouble down the line.
Here’s how to create the initial 3D form:
Once the logo is in 3D, the next step is refining it with well-placed edge loops. This step is crucial for maintaining the logo’s details during subdivision, ensuring sharp features stay sharp and smooth areas transition seamlessly.
Here are some tips for effective edge loop placement:
The placement of edge loops directly impacts how the model reacts to subdivision. Areas with tightly packed loops will resist smoothing, keeping edges crisp, while regions with fewer loops will round out more. This gives you precise control over the final look.
For text-based logos, make sure edge loops closely follow the contours of the letters. Add supporting loops just inside the outer edges to keep the text sharp. For curved elements like swooshes or circular motifs, distribute loops evenly to ensure smooth, clean transitions post-subdivision.
If you’re looking to speed up the process, tools like Logo Diffusion can help generate base meshes with accurate edge loops, simplifying the setup and saving time.
Subdivision modeling is a great way to transform 2D logos into sleek, smooth 3D models. Building on the optimized edge flow we talked about earlier, let’s dive into the key steps for creating polished 3D logos.
Start by creating a simple, efficient base mesh that captures the essence of your logo's shape. Stick to quad-based topology to avoid unwanted artifacts in the final model.
Here’s how to optimize your base mesh:
Once your base mesh is ready, apply subdivision modifiers to smooth and refine it.
Striking the right balance between smoothness and performance is crucial. Use the following subdivision levels as a guide:
Experiment with these settings and tweak them based on how your model responds. Tools like Logo Diffusion’s AI can also help suggest optimal modifier settings for your project.
With a smooth base in place, it’s time to refine the finer details. Add edge loops to maintain sharp features, apply creases where needed, and adjust vertex positions to ensure a clean surface flow.
For logos that include text or intricate geometric shapes, focus on keeping edges crisp and surfaces consistent. Tools from Logo Diffusion can highlight areas needing improvement and recommend topology tweaks to enhance the final look.
As you work, keep your mesh organized and regularly preview the subdivided result. This ensures your logo stays efficient while meeting professional quality standards.
Logo Diffusion's AI-powered tools simplify subdivision modeling by removing technical barriers while keeping design accuracy intact. Here's how each tool focuses on improving specific elements of the process.

With its 2D-to-3D conversion capabilities, Logo Diffusion transforms flat logos into optimized base meshes tailored for subdivision. This automation not only saves hours of manual work but also ensures clean, quad-based geometry with proper vertex distribution. Here's what it does:
The platform's AI-driven topology tools create meshes that are ready for subdivision. By analyzing a logo, the system automatically optimizes the mesh to enhance both functionality and aesthetics. Here's a breakdown:
This intelligent approach also identifies potential issues like pole artifacts or mesh intersections before they can compromise the final subdivided surface, ensuring consistent quality throughout.
Real-time subdivision previews give designers instant feedback, showing how different subdivision levels impact the logo model. These previews:
Subdivision modeling often faces challenges like surface artifacts, distortion, and UV mapping errors, all of which can impact the quality of a logo.
Surface artifacts, such as pinching or pulling, can ruin the appearance of curved areas in a logo. These problems are usually caused by poor mesh topology, including the use of triangles, pole vertices, or unevenly spaced vertices.
To further improve surface quality, ensure consistent mesh density throughout the model.
Surface distortion, such as stretching, often results from poor edge flow or inconsistent polygon density. To avoid this:
Tools like Logo Diffusion's AI analysis can identify areas prone to stretching before subdivision. Its real-time preview feature allows you to see how different subdivision levels affect the surface, ensuring a smooth and distortion-free logo with sharp transitions.
Once geometry issues are resolved, the next step is to safeguard the UV map to maintain accurate textures.
Here’s how to ensure UV integrity:
Logo Diffusion’s built-in UV protection tools can detect potential problems during subdivision. Its feedback system highlights areas needing adjustment, helping you maintain consistent brand colors and patterns in the final design.
Once you've refined the mesh and ensured UV protection, the next step is to export your logo with care. This step is crucial for preparing your subdivision-modeled logo for production while maintaining its smooth, polished look.
Start with a clean, high-resolution model that has all the final details in place. Normal maps are a great way to capture intricate details without adding extra polygons to your model.
Here’s how to configure your baking settings:
Once the map is baked, test it in real-time to ensure:
After generating your normal maps, select a file format that aligns with your project's needs. Each format has specific strengths depending on the application:
Before finalizing your export, double-check that the logo adheres to brand guidelines:
Logo Diffusion's built-in export tools can simplify this process by automating tasks like vector conversion, background removal, and optimizing formats. These tools work seamlessly with earlier refinements in topology and edge loops, ensuring the logo maintains consistent quality throughout the production process.
Subdivision surface modeling has revolutionized the way designers approach 3D logo creation. By prioritizing clean mesh topology and carefully planning edge flow, designers can craft logos that look polished and maintain clarity, no matter the application. This method excels in handling both fluid, organic shapes and precise geometric forms, making it a go-to technique for modern design workflows.
One of its biggest strengths is the ability to add detail exactly where it’s needed while preserving smooth, high-quality surfaces. This ensures logos are adaptable for different production needs, whether it’s for digital displays or large-scale prints.
AI tools have further simplified subdivision modeling. For example, Logo Diffusion offers features like 2D-to-3D conversion and topology optimization, enabling designers to create clean, subdividable meshes from existing designs in less time. Its vector export functionality ensures the final models meet professional standards for production. These tools, combined with core modeling techniques, make workflows faster and deliver reliable, professional results.
Key points to remember:
Subdivision modeling elevates the quality and appeal of 3D logos by producing smooth, refined surfaces. By breaking a 3D model's geometry into smaller, more detailed sections, this technique creates organic shapes and clean, polished edges - perfect for professional designs.
Unlike traditional methods, subdivision modeling offers more control over details and curves, making it easier to achieve a sleek, modern aesthetic. This approach is particularly effective for logos that demand precision and smoothness, ensuring they look sharp and professional in both digital presentations and physical applications.
Subdivision modeling can feel overwhelming for beginners, but tackling a few common challenges head-on can make the process much easier. One frequent issue is uneven geometry, which often results in distortions during subdivision. The solution? Start with a clean, evenly distributed base mesh - it’s like building a solid foundation for a house.
Another hurdle is preserving hard edges or sharp details. Subdivision naturally smooths everything, which can be frustrating when you need crisp edges. To keep those sharp features intact, try adding edge loops or use crease tools strategically.
Finally, performance can take a hit when working with complex models. To keep things running smoothly, stick to a low-resolution base mesh as you work. Only bump up the subdivision levels when absolutely necessary. With time and attention to these techniques, you’ll be crafting polished, smooth designs like a pro.
Logo Diffusion's AI tools make crafting sleek, professional 3D logos a breeze by incorporating advanced features tailored to work seamlessly with subdivision modeling. With options like text-to-logo and sketch-to-logo, users can quickly create initial designs that act as a solid starting point for further customization.
The platform also includes tools like style transfer and 2D-to-3D conversions, which help users create polished and eye-catching designs. Whether you're a beginner exploring possibilities or a professional fine-tuning details, these features make it easy to experiment with various styles, shapes, and layouts while ensuring the smooth, refined surfaces that subdivision modeling is known for.
Ethan Brookes is a product-focused content writer covering AI tools, branding, and SaaS workflows. He writes practical guides on using AI for real-world design and product use, with a focus on brand-ready outputs and scalability.