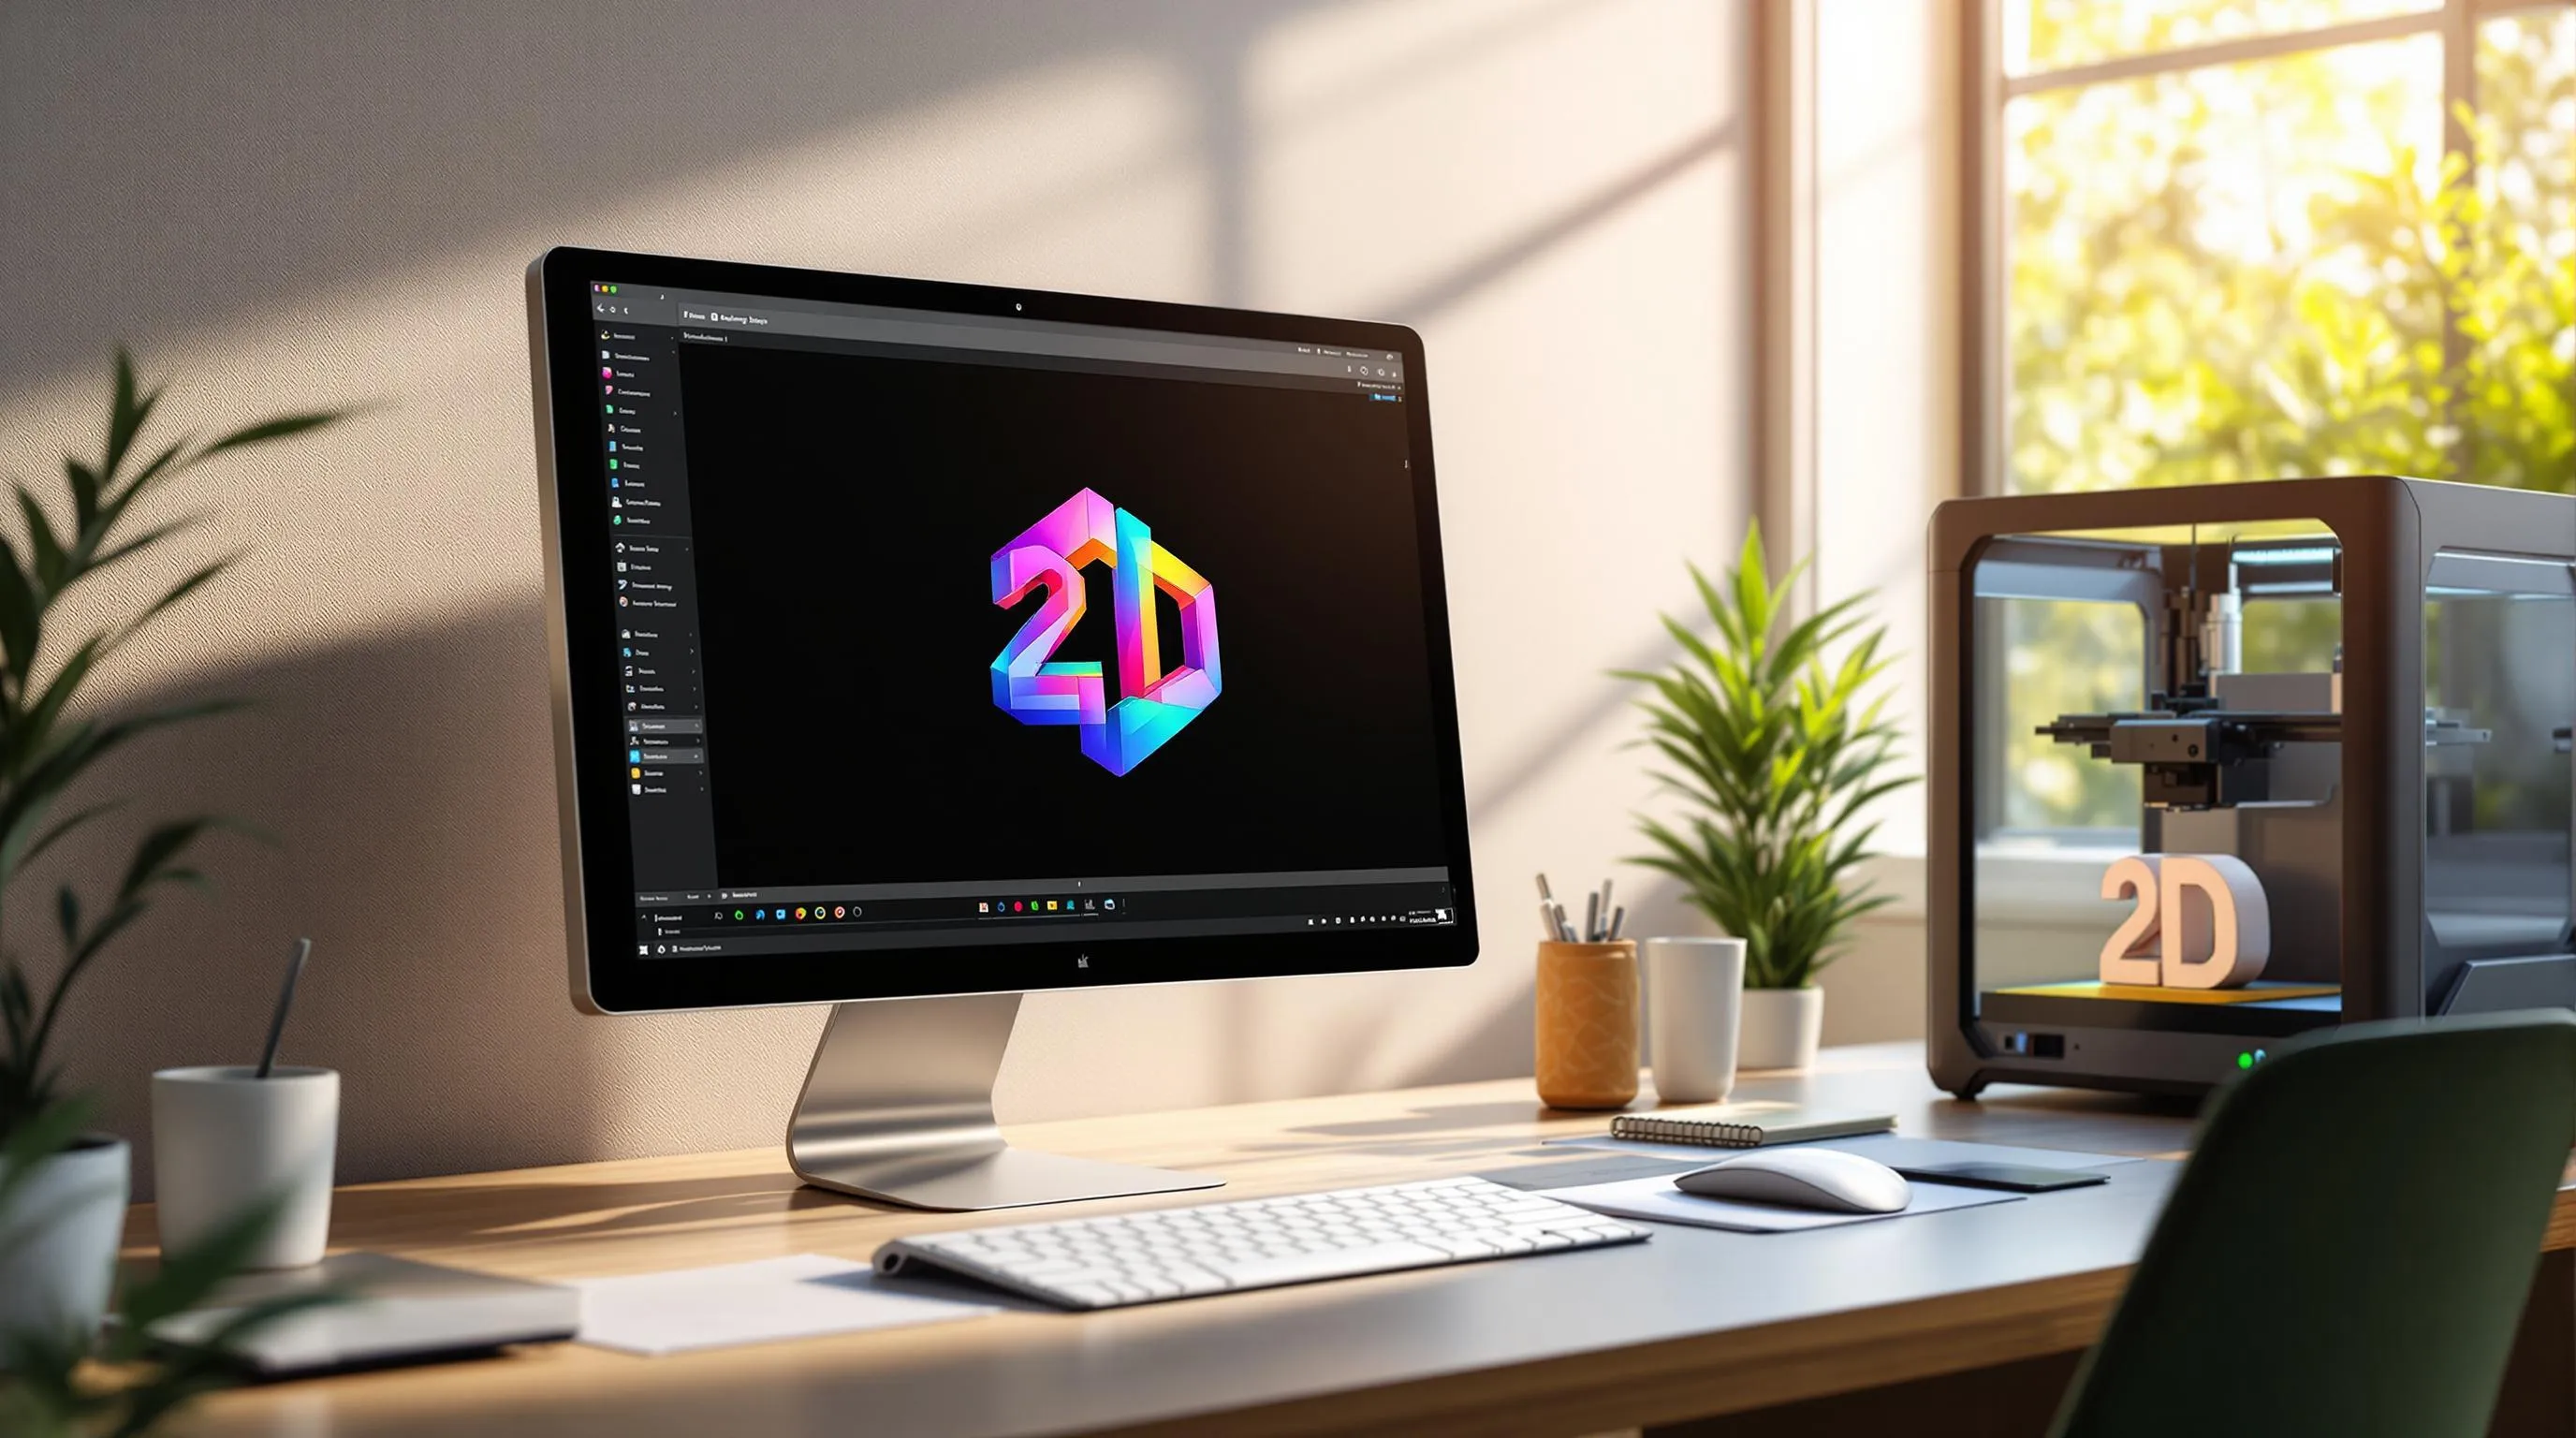
Turning your flat 2D logo into a 3D model is now easier than ever. Here's how you can do it step-by-step:
This process lets you create professional 3D logos for websites, social media, packaging, and even AR/VR applications - all without needing advanced skills.
Prepare Your 2D Logo
Get your 2D logo ready for a smooth transition into 3D.
Clean Up Design Elements
Simplify your logo to make the 3D conversion process easier:
Using Logo Diffusion’s background removal tool can help simplify this process. It automatically isolates your logo from any surrounding elements, giving you a clean base to work with.
Once your design is clean, check the resolution to make sure every detail converts properly.
Check Image Resolution
Make sure your 2D logo is high-resolution so fine details are captured accurately. If the image looks pixelated, replace it with a higher-quality version.
Select File Format
Choose a file format that keeps your logo’s quality intact. Logo Diffusion works best with:
If your logo isn’t already in a vector format, Logo Diffusion’s vectorizer tool can convert it into a clean SVG file. This ensures compatibility for 3D conversion while keeping edges sharp and curves smooth in the final model.
Once your logo is ready, it's time to turn it into a stunning 3D model. See full 3D guide
Upload Your Logo
Head to the '2D to 3D' feature in your Logo Diffusion dashboard. The platform supports multiple file formats. Here's how to get started:
Once you're satisfied with the upload, move on to selecting your 3D style options.
Pick 3D Style Options
You can choose from over 45 design styles to bring your logo to life. Key settings include:
Experiment with different combinations of material, depth, and lighting to find the style that best represents your brand.
Create and Adjust Your 3D Model
After generating the initial 3D model, use the adjustment tools to refine it further:
Basic Adjustments
Advanced Settings
For intricate designs, use the creative upscaler to enhance details. Preview the model from every angle to ensure consistent quality across all aspects.
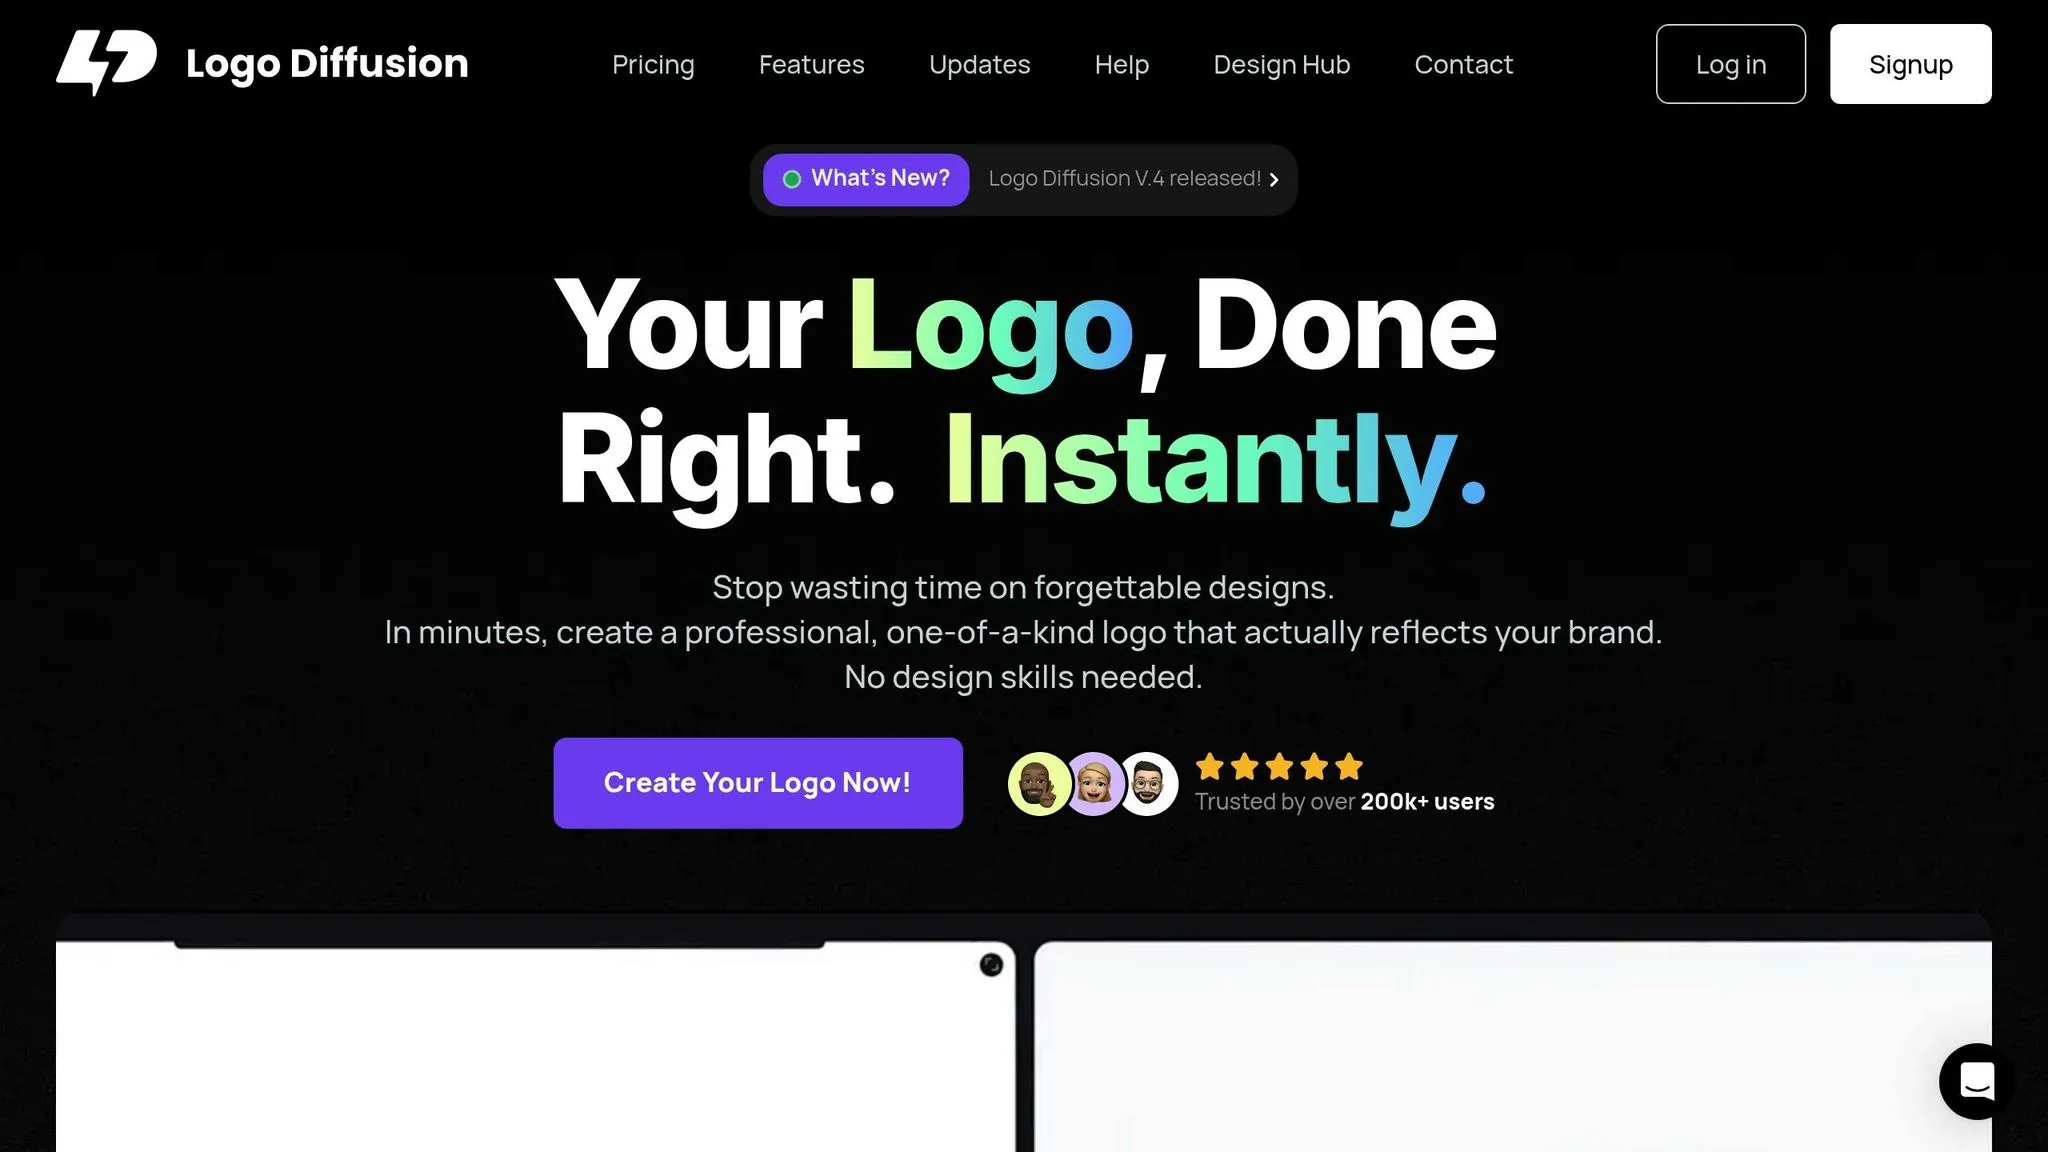
Trusted by over 250k+ users
Polish and Export 3D Models
Once you've created your basic 3D model, it's time to refine the details and prepare it for export.
Fine-Tune Your 3D Model
Use Logo Diffusion's Creative Upscaler to sharpen and enhance your design for a polished, professional look.
Surface Refinement
Lighting Adjustments
The Creative Upscaler automatically processes your design in high resolution, ensuring it retains sharp details even when scaled up.
Once your 3D model is fully polished, you're ready to export it in the format that best suits your needs.
Export in Multiple Formats
Save your refined 3D logo in versatile formats to ensure it works across various platforms and applications:
Option
Logo Diffusion (2D → 3D)
Traditional 3D Software (Blender, Cinema 4D, etc.)
Hiring a 3D Designer / Studio
Skill level needed
Beginner-friendly. Upload your logo, pick a style, and adjust basic settings without 3D experience.
Intermediate to advanced. You need to understand modeling, lighting, materials, and rendering.
No technical skills, but you need to brief the designer, give feedback, and review revisions.
Setup time
Get started in minutes using your existing 2D logo file and built-in 2D→3D tools.
Hours to install, set up a scene, configure cameras, and learn the interface if you’re new.
Time to research, vet, and onboard a designer or studio before any work starts.
Time to first 3D logo
Typically a few minutes from upload to first 3D render, plus small tweaks if needed.
Several hours per logo to model, extrude, light, texture, and render properly.
Usually 2–7 days to receive first concepts, depending on the designer’s workload.
Control & experimentation
Fast iteration. Try multiple 3D styles, depths, and lighting presets and regenerate as needed.
High control but every change is manual and can be time-consuming to adjust and re-render.
Changes require back-and-forth communication and may increase cost and turnaround time.
Consistency across assets
Reuse the same setups and presets so every 3D logo version feels on-brand and consistent.
Consistent results depend on your own skill and whether you document and reuse scene setups.
Consistency depends on the designer’s process and whether you stay with the same person/studio.
Cost per 3D logo
Low, credit-based pricing. Easy to generate multiple variations without a big extra bill.
Software cost + your time. No per-logo fee, but each render costs hours of work.
Highest cost. Each project or revision is billed, especially for commercial usage and complex briefs.
Best for
Brands that want fast, professional 3D logos from existing 2D marks without learning 3D.
Designers who already know 3D and want full control over every technical detail.
High-budget projects that need completely custom, hand-crafted 3D scenes and animations.
Logo Diffusion optimizes each format during export, ensuring high-quality results. The built-in vectorizer creates clean, production-ready vector files that maintain their quality across different uses.
Export Suggestions:
Ways to Use 3D Logos
Make your brand stand out with eye-catching 3D logos.
Online Marketing
Use 3D logos to grab attention and boost your online presence. With tools like Logo Diffusion's 3D conversion features, you can create assets for:
Website Headers and Landing Pages
Social Media Content
Email Marketing
These strategies work seamlessly across digital platforms and set the stage for physical branding.
Product Branding
3D logos can elevate your physical branding with creative, tangible applications:
Packaging Design
Merchandise
AR and VR Content
Step into the future with 3D logos in augmented and virtual reality, offering immersive experiences that showcase your brand in innovative ways.
Augmented Reality Applications
Virtual Environments
Wrapping Up
Using the steps outlined earlier, you can bring your brand to life with eye-catching 3D logos. Turning flat 2D designs into dynamic 3D models is now simpler than ever with Logo Diffusion's tools. Success comes down to clean designs, proper conversion, and detailed finishing.
The process is simple: start by preparing your design, convert it with Logo Diffusion's tools, and export it in the format you need. By focusing on preparation and precision, you can create professional 3D logos that look great across various platforms and applications.
Logo Diffusion offers design options and export features that ensure your 3D logos maintain a polished appearance while making a strong impression. Whether you're working on digital campaigns, physical merchandise, or immersive projects, you can achieve high-quality results without needing advanced 3D modeling skills.
This flexibility lets you create consistent branding across all mediums. Upgrade your brand by transforming your 2D logos into striking 3D assets that stand out and engage audiences everywhere.
FAQ
Yes — Logo Diffusion’s 2D-to-3D feature converts a 2D logo into a 3D-style logo using a guided workflow, so you don’t need Blender or Cinema 4D. Upload the logo, choose a 3D style, then adjust depth, lighting, and finish until the result matches your brand.
For the best 2D-to-3D results in Logo Diffusion, start with a clean, simple logo shape and remove anything that will confuse the conversion. Use background removal to isolate the mark, reduce clutter, and make sure the logo is sharp and high-resolution so edges convert cleanly.
A clean, high-resolution PNG (ideally with a transparent background) is a strong starting point for Logo Diffusion 2D-to-3D. If your logo has jagged edges or low quality, run it through Logo Diffusion’s vectoriser first to rebuild cleaner edges before converting to 3D.
Vectorising first can improve 2D-to-3D quality in Logo Diffusion because clean edges produce cleaner depth and lighting. If your original logo is blurry, compressed, or pixelated, use the vectoriser to rebuild a crisp base, then apply 2D-to-3D styling.
The best 3D style in Logo Diffusion depends on where the logo will be used and how “premium” you want it to feel. For websites, choose subtle depth; for social creatives, use bolder contrast; for packaging, prefer restrained materials like brushed metal or matte finishes.
A premium 3D logo in Logo Diffusion comes from restrained depth, realistic materials, and controlled highlights. Keep extrusion moderate, choose finishes like brushed metal or matte, and avoid harsh shine; adjust one setting at a time (material → lighting → depth) to keep results consistent.
Logo Diffusion Creative Upscaler improves sharpness and detail so your 3D logo looks cleaner in final exports. It helps remove softness and artefacts, especially when you need high-resolution visuals for landing pages, ads, or presentations.
Export a high-quality PNG for digital use and keep a clean 2D “master” for brand consistency. PNG is ideal for web, social, and presentations, while a clean 2D vector master (from the vectoriser workflow) helps you stay consistent across print and future assets.
Logo Diffusion is faster for turning an existing logo into a 3D-style asset because it removes the setup and technical steps required in Blender. Blender offers maximum control, but Logo Diffusion is the efficient option when speed and simplicity matter more than building a full 3D scene from scratch.
A usable 3D logo can be created quickly in Logo Diffusion once your 2D logo is clean and high-quality. Most time is spent selecting the best style direction and fine-tuning lighting/materials, not on complex modelling.
3D logos from Logo Diffusion are best for high-impact digital branding where depth improves attention and perceived quality. Common uses include website headers, landing pages, social ads, email banners, packaging visuals, and product branding creatives.
Ethan Brookes is a product-focused content writer covering AI tools, branding, and SaaS workflows. He writes practical guides on using AI for real-world design and product use, with a focus on brand-ready outputs and scalability.
.webp)


.webp)
.webp)
.webp)