.webp)
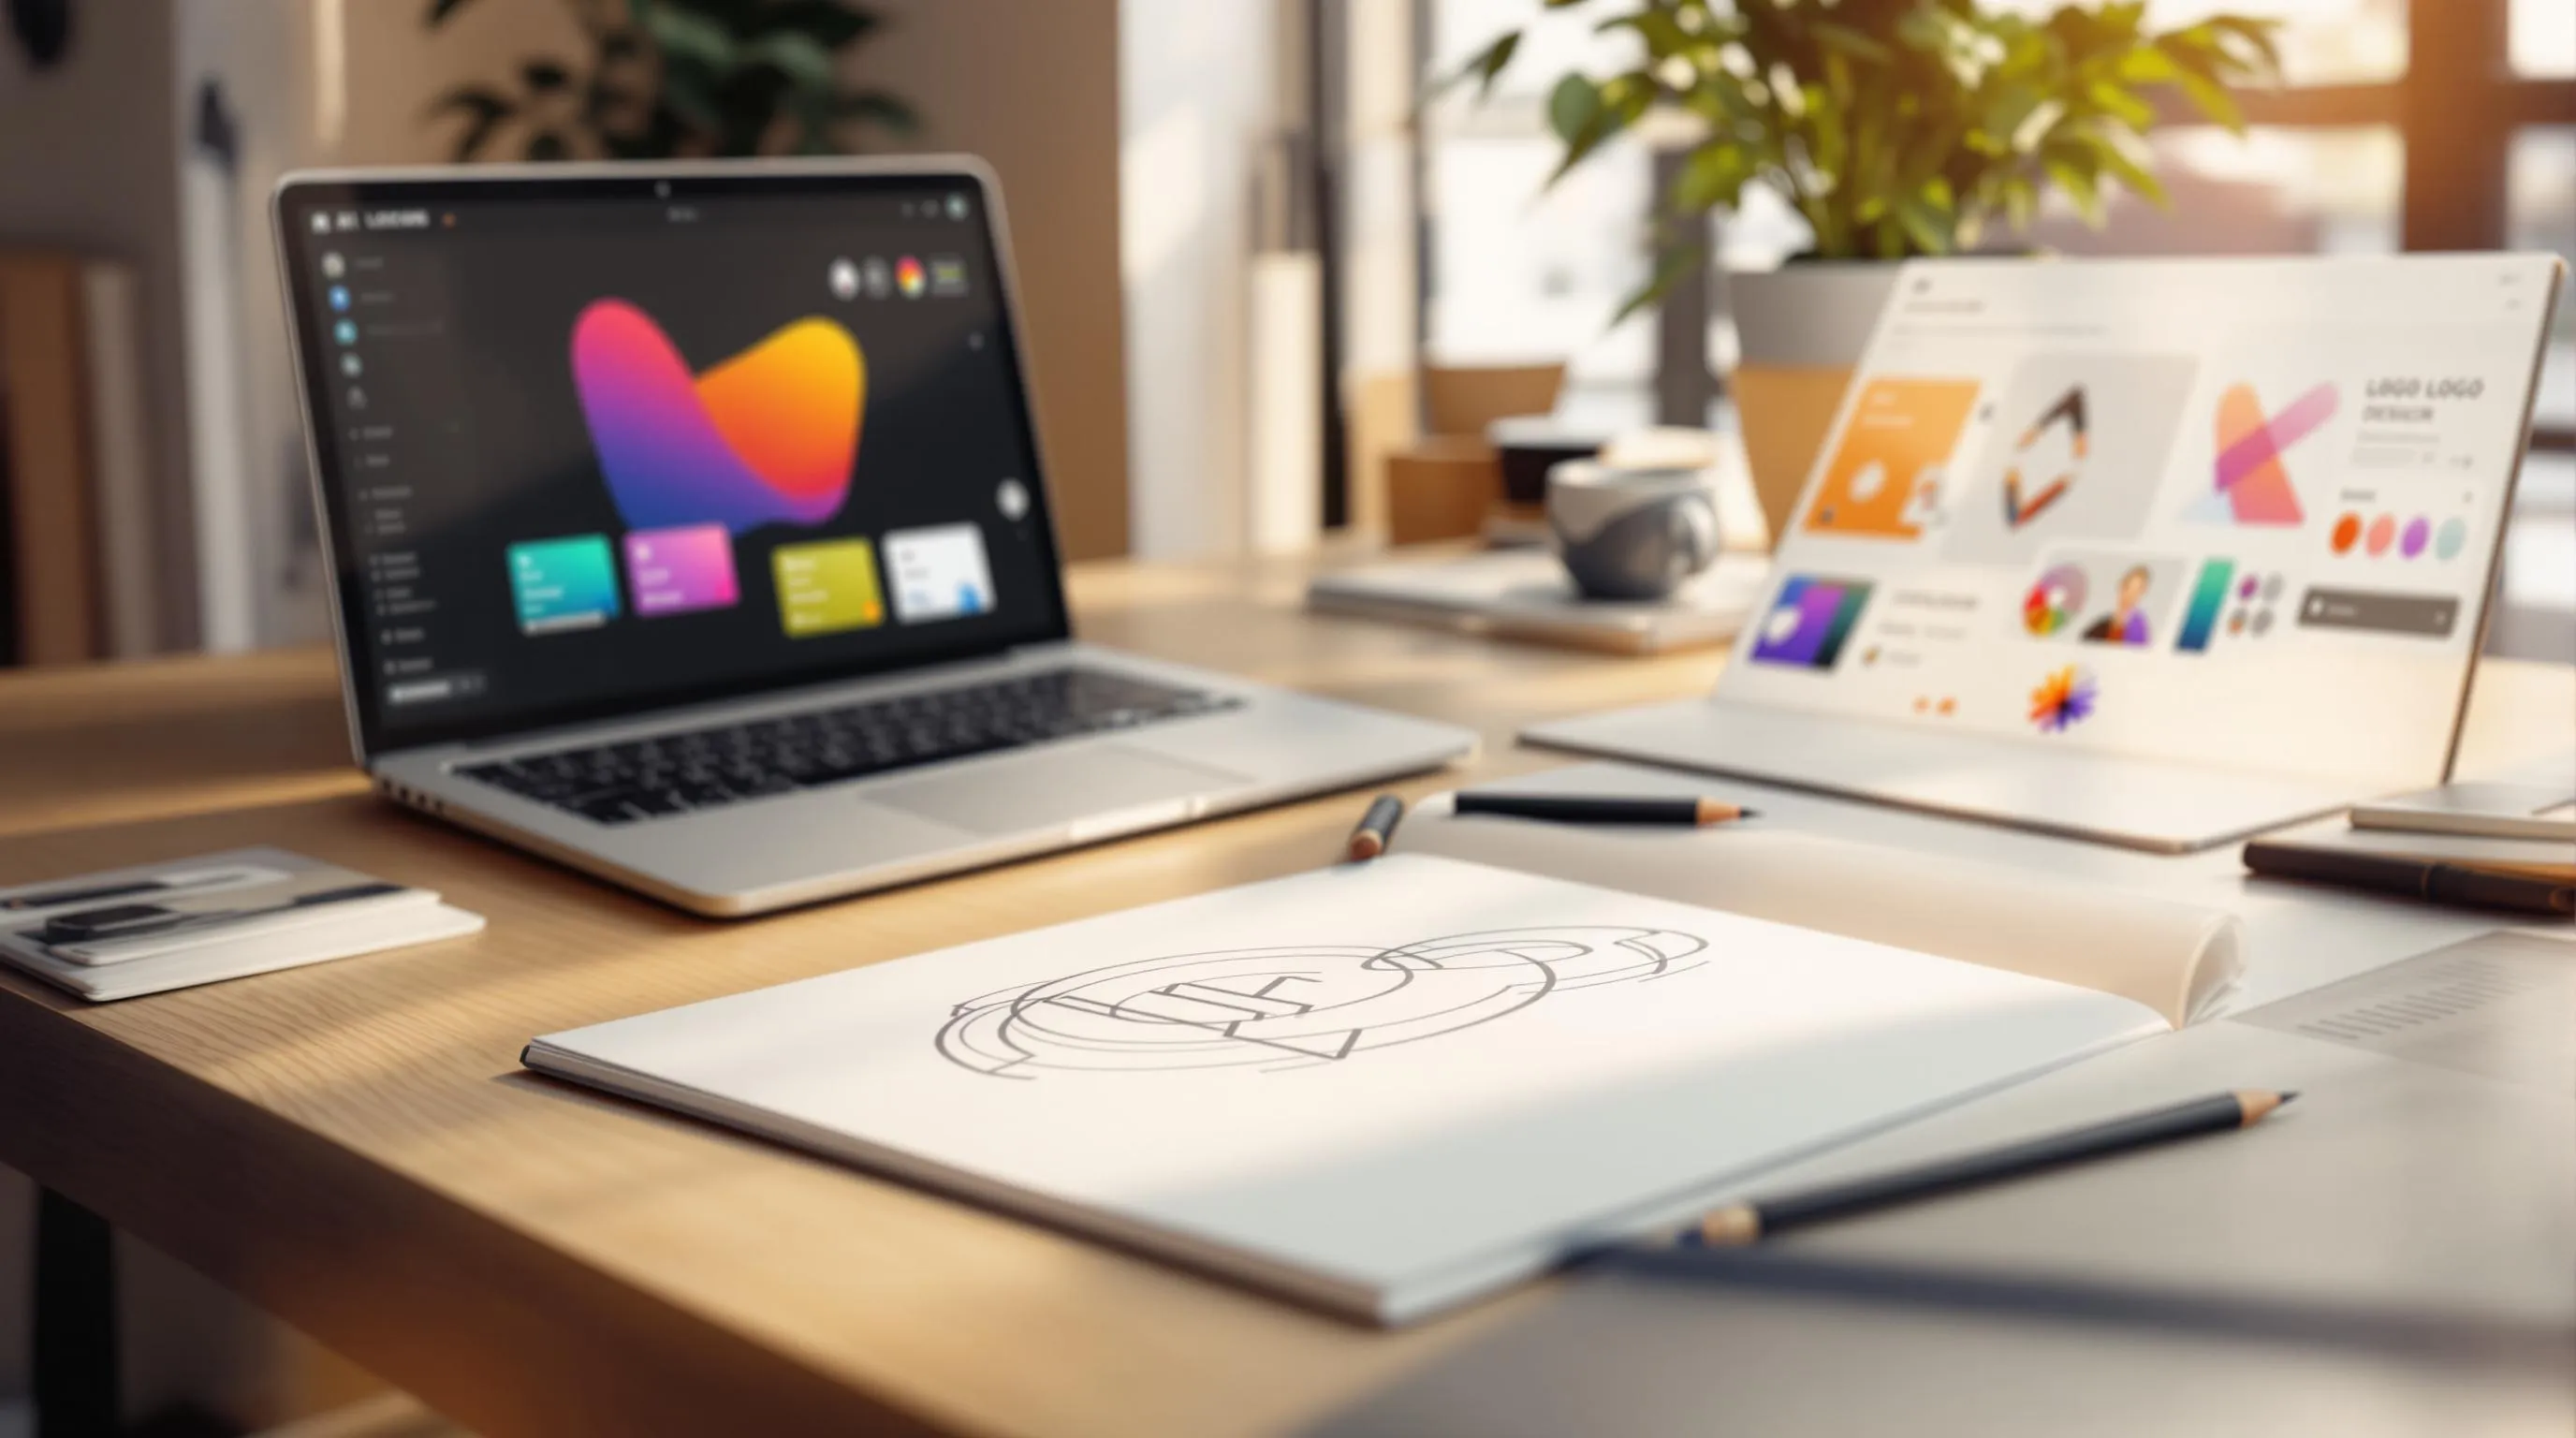

Turn your hand-drawn sketch into a professional logo in minutes using AI tools. Here's how:
Quick Tip: AI tools like Logo Diffusion make the process simple, even for beginners. Start with a clear sketch, let AI refine it, and customize to match your brand.
Take your time preparing your sketch - its quality directly impacts the final design.
Create clean, precise sketches to ensure the AI processes them correctly. Use black ink on white paper for the best contrast. Draw bold, intentional lines and avoid faint or sketchy strokes that could confuse the system.
Here’s how to ensure your sketch is up to par:
Turning your physical sketch into a digital file requires accuracy. A flatbed scanner set to at least 300 DPI works best. If you’re using a smartphone camera, follow these steps:
"A basic sketch can be refined into a polished logo design using AI." - Logo Diffusion
Make sure your digital file meets these criteria:
For further refinement, you can use Logo Diffusion's in-app editor. It offers specialized brushes and shapes to perfect your sketch, ensuring it’s ready for AI processing. A polished digital sketch sets the stage for accurate and professional logo generation.
With your sketch digitized, it's time to turn it into a polished logo using Logo Diffusion's AI tools.
Here's how to get started:
After uploading, you'll have access to a range of AI-generated design options.
Logo Diffusion's AI ensures your logo stays true to your original vision while improving its overall appearance and style. Here's what you can do:
The AI refines your sketch through multiple iterations, creating polished versions that maintain your original concept.
Once you've explored the design options, follow these steps to perfect your logo:
The platform's user-friendly controls make it easy to refine your logo, helping you achieve a professional result in no time.
Once your AI-generated logo is ready, Logo Diffusion offers tools to fine-tune it. These features make sure your logo reflects your brand's personality while maintaining a polished, professional look.
Fine-tune your logo's details to match your brand perfectly. With Logo Diffusion's built-in editor and sketching tools - like brushes, shapes, and font controls - you can modify:
These tools let you take the AI-generated logo and turn it into your final design. Want more options? Check out the premium features.
Logo Diffusion offers advanced customization tools through its subscription plans. Here's a breakdown of key premium features:
Premium features include:
These premium tools give you even more control to create a standout logo.
Once your logo is finalized, it's time to export and manage your files to ensure they retain their quality.
Logo Diffusion provides logos in multiple formats, each suited for specific uses:
For professional printing or merchandise, always export your logo as a vector file. Logo Diffusion's vectorizer ensures your design is converted into a clean SVG file, keeping it sharp and ready for any application.
After exporting, organize your files systematically for quick and easy access.
Keep your logo files organized by saving a master copy of the original vector file. Alongside it, create separate folders for different formats tailored to specific uses. This approach ensures your branding stays consistent and your workflow remains smooth.
Refer to the Export Format Guide to choose the right file type for each platform. If needed, use Logo Diffusion's background removal tool to create transparent digital versions for seamless integration across various platforms.
Turn your sketches into polished, scalable logos with ease. Here’s how the process works:
Logo Diffusion supports every step with features like background removal, 2D-to-3D conversion, and high-resolution upscaling. The vectorizer ensures your logo maintains top quality in any format.
Start with a clear concept and use the style transfer tool to keep your branding consistent. This process takes your logo from idea to professional-grade vector file, meeting all industry expectations.
Ethan Brookes is a product-focused content writer covering AI tools, branding, and SaaS workflows. He writes practical guides on using AI for real-world design and product use, with a focus on brand-ready outputs and scalability.


.webp)
.webp)
.webp)