


How to Turn Any Sketch into a Logo or 3D Render in Seconds
I'll show you how to transform a simple sketch into a professional vector logo or high-quality 3D render with different styles, all in seconds using Logo Diffusion. Whether you're a designer or have zero skills in designing or using generative AI logo design, this guide will walk you through turning a rough sketch into a professional Logo or Image transformation.
Prefer watching? Follow along with the YouTube tutorial below
Sketching Your Idea
Start with your basic idea, sketch the logo you have in mind. I used the sketching editor with a thin, black pen to create a rough outline, but it’s not necessary to sketch on our site. You can use a real-life pen and paper and upload that picture, or sketch on your favorite app like Procreate, there are no limitations. Remember and don't worry, it doesn’t have to be perfect; the goal is to capture the essence of your idea. This is the first step in sketching the Idea that will later become a logo, 3D render, or any other style from our 45+ style collection.

Setting Up Your Design and Choosing the Style
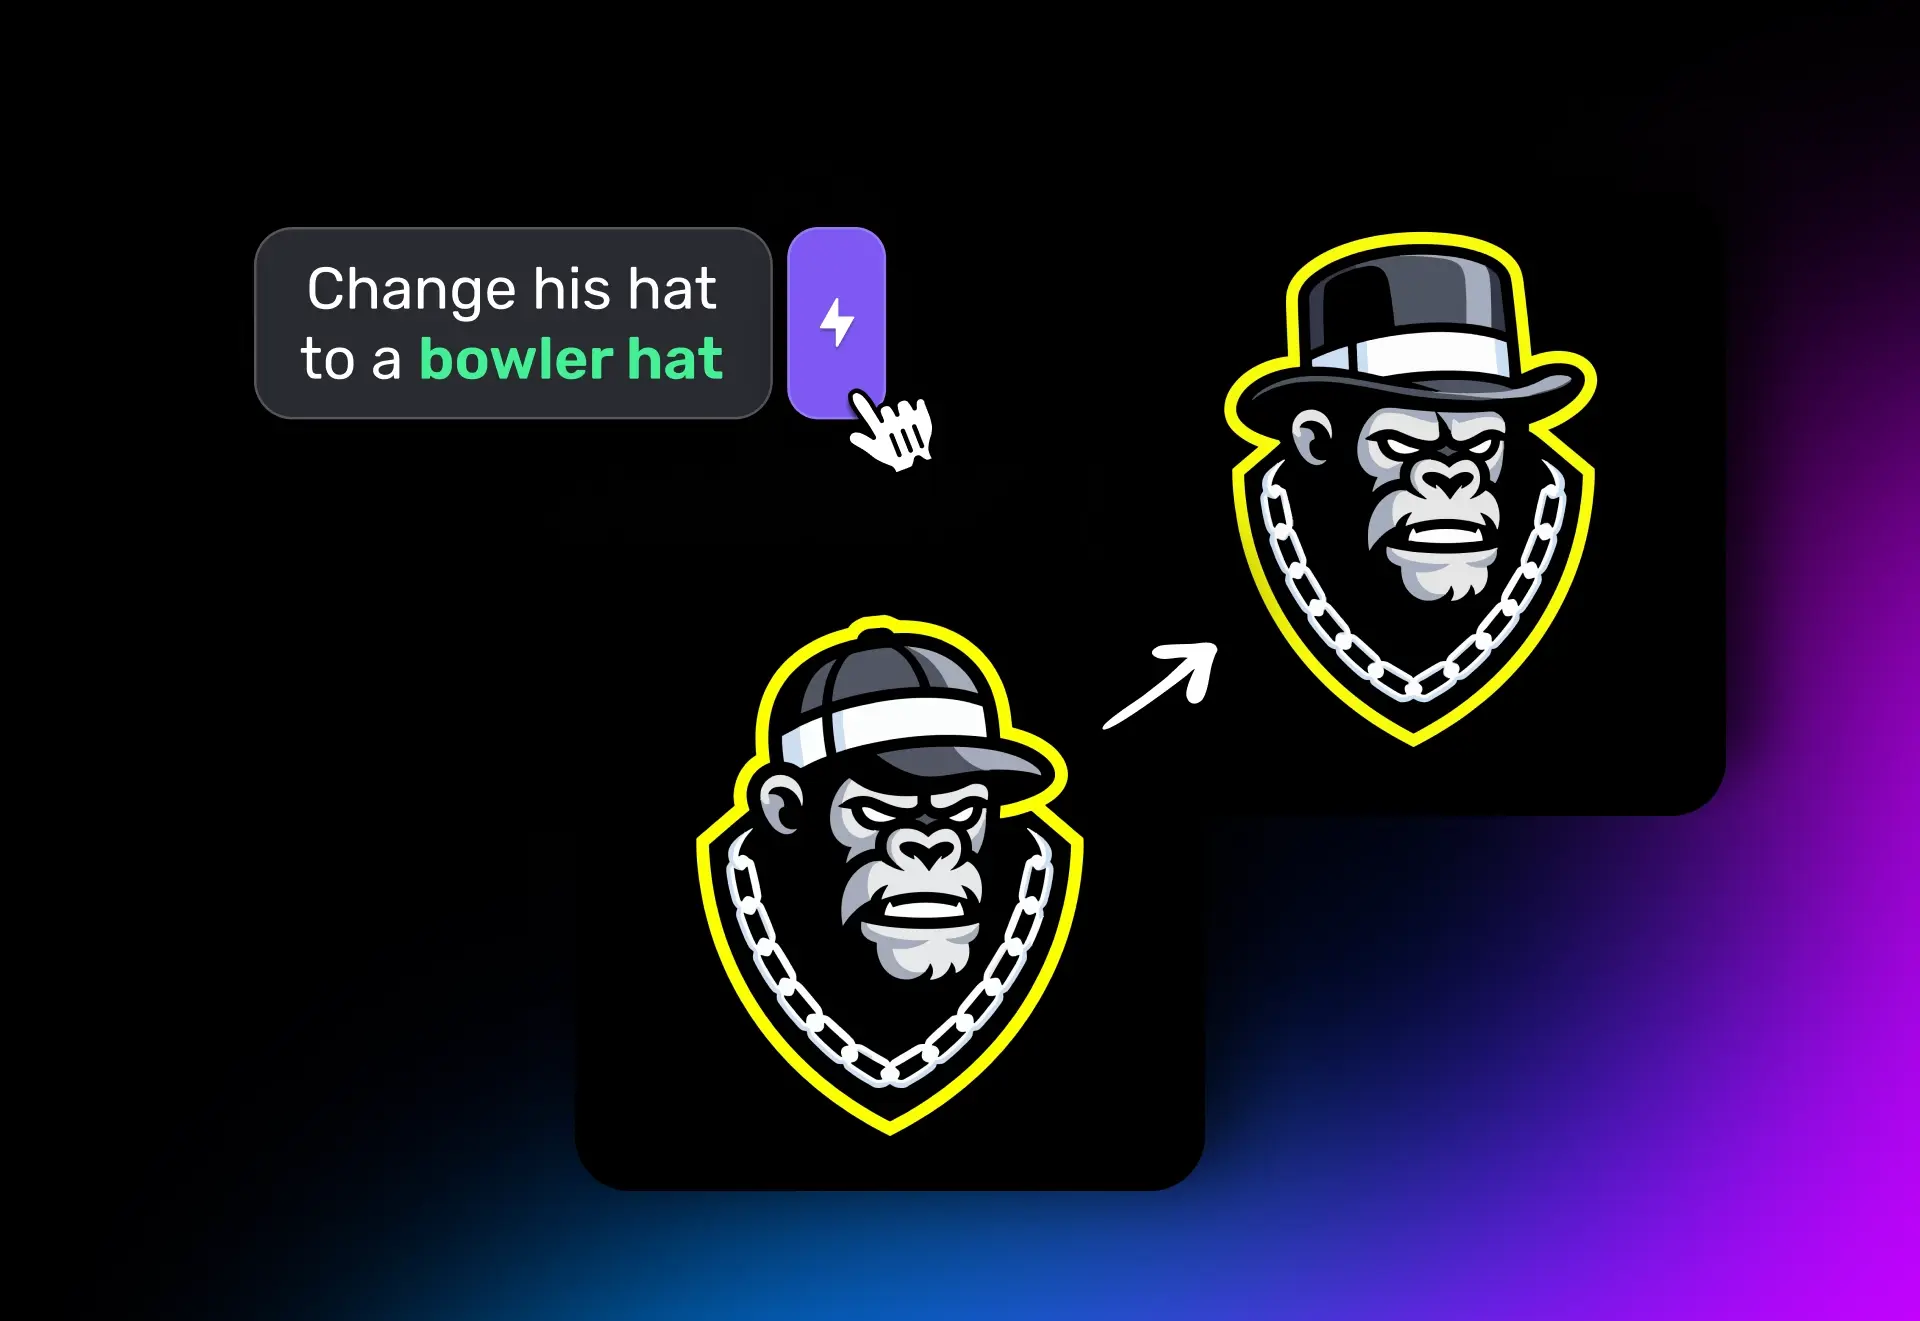
Once the initial sketch is ready, adjust the style settings to ensure the transformation remains true to your concept. Before I created the 3D version, I wanted to make a mascot-style logo from my sketch, so I chose "Mascot" in the style categories. I set the style to "detailed" mode with an image strength of seven so that the transformation closely follows the original sketch, you can increase it for a closer match or decrease it to give the AI more creative freedom. Describe your vision clearly—for example, a green, furry monster with sharp nails, a happy face, and an open mouth. Describing your ideas well is key to achieving an image-to-logo transformation that feels both dynamic and professional!

Generating the 3D Render
For my sketch, I first chose hyperrealism. I really loved the mascot-style logo from my previous generation, so I selected my favorite one as an input image because I wanted a 3D version of that. (You don't have to do this—you can leave your sketch as the input image.) After choosing the hyperrealism style, click “Generate” to see your sketch turn into an impressive 3D render. Compare the render to your original sketch and wonder: how was this done in seconds? 😀


Experimenting with Different Styles
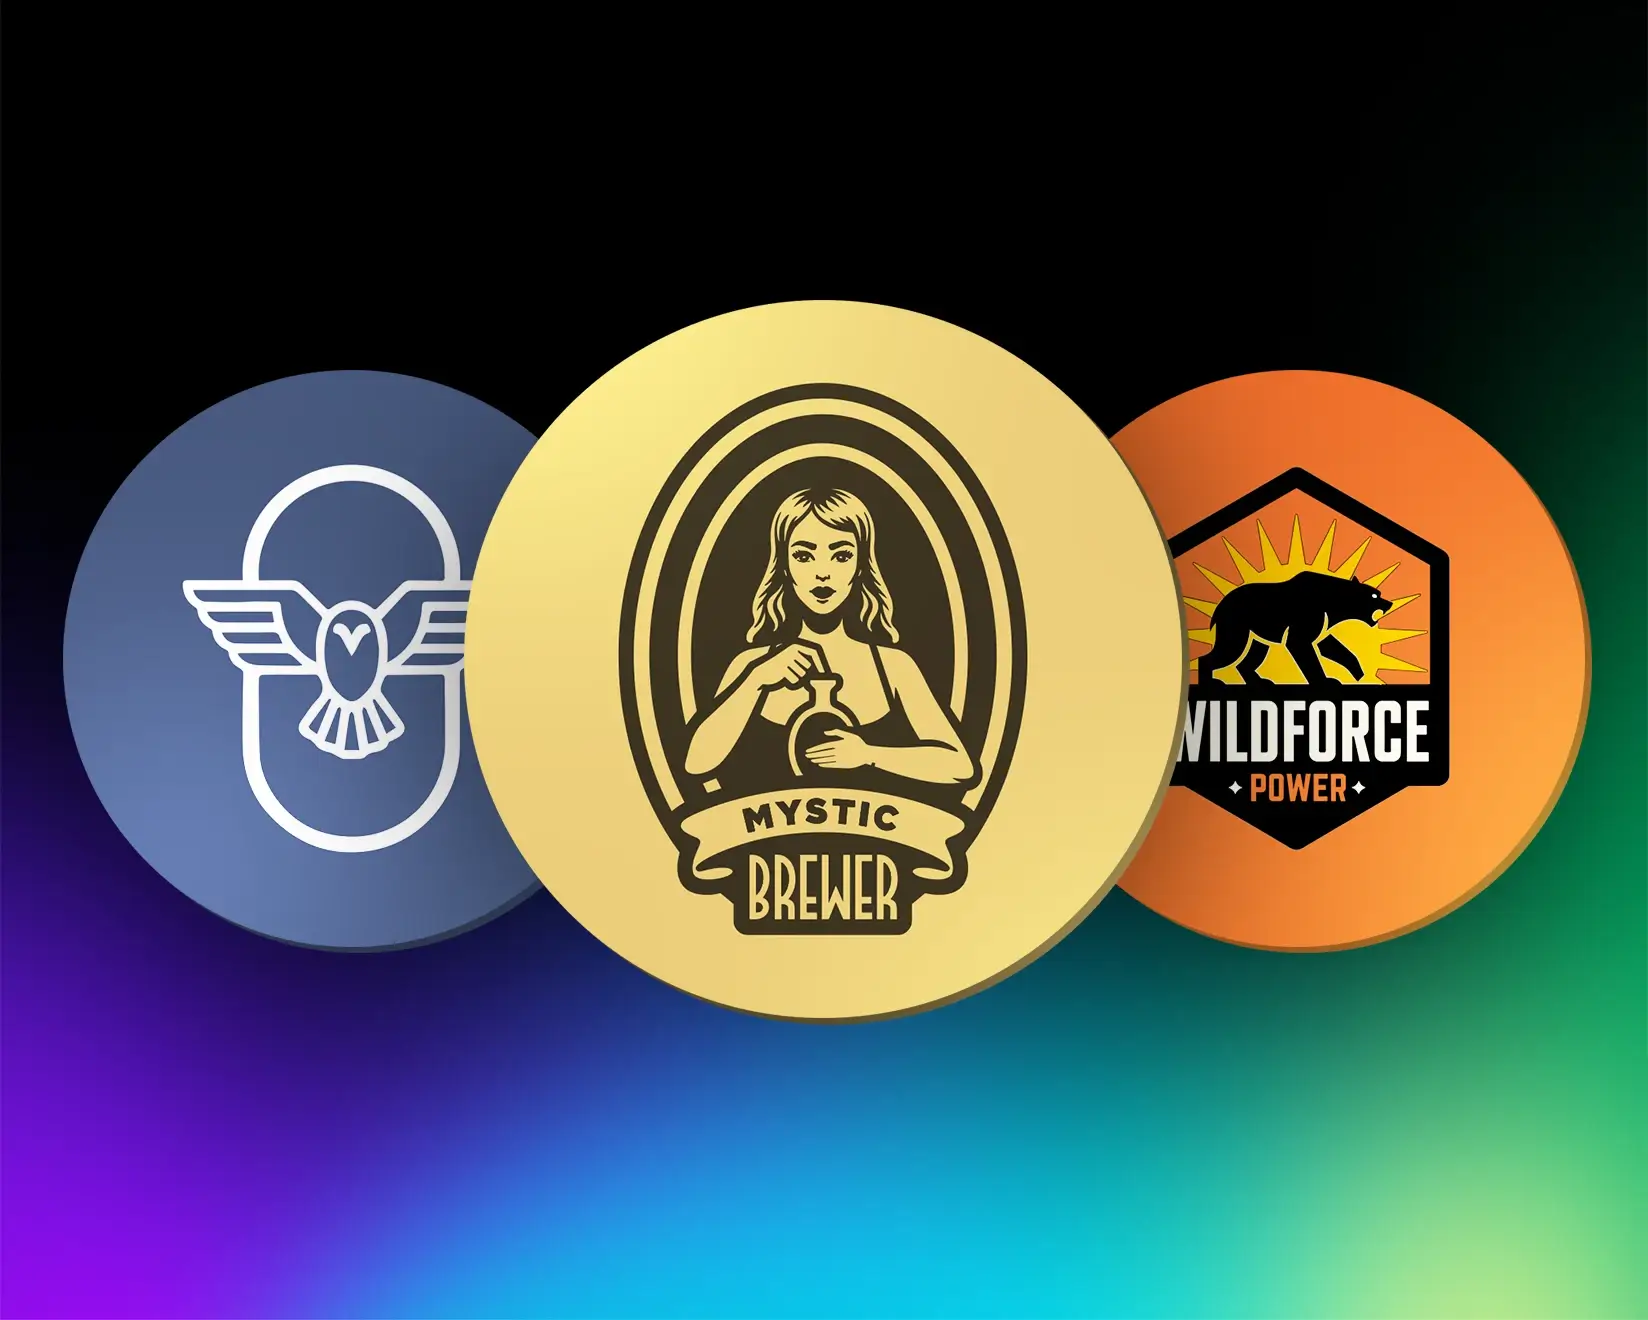
Logo Diffusion has 45+ styles, ranging from various logo design styles to fine art, 3D styles, and much more. Here are some examples to try:
- Retro Mascot: This style blends vintage design elements with a playful mascot look. It often uses classic color palettes, bold lines, and a nostalgic vibe reminiscent of mid-century branding.
- Oil Painting: This style mimics traditional oil paintings, complete with visible brushstrokes and rich, layered textures. It gives your design an artistic, timeless quality that feels hand-crafted.
- Futuristic: Characterized by sleek lines, neon accents, and a modern digital aesthetic, this style creates a forward-thinking look that embodies innovation and cutting-edge design.
- Dark Arts: This style infuses your design with a moody, dramatic atmosphere using deep shadows, high contrast, and gothic elements. It’s perfect for adding an edgy, mysterious feel.
- Pixel Art: Reminiscent of classic video games, this style uses distinct, blocky pixels to form your design. It offers a nostalgic yet modern twist, ideal for a minimalist, grid-based look.
Each style brings a fresh perspective to your design, ensuring that your transformation is versatile and eye-catching.

Upscaling or Vectorizing for Perfection
Finally, whether it's a logo, an oil painting, or any other design, we've got you covered. You can download a high-quality, production-ready vector or a 4K image depending on your design.
- If it’s a logo, simply choose "Vectorize Image" and download a professional vector, where every curve is high quality with smooth shapes grouped for the easiest customizability possible.
- If it’s an image, use the upscale tool to enhance the final render. Configure it to optimize for realism and select a creativity level that determines how much freedom the AI has to add extra details. The upscaled render should display every intricate detail, from textures and reflections to shadows and highlights, creating a final image that stands out in both quality and style.

Using Logo Diffusion V4, you can easily transform any sketch into a stunning logo or 3D render in seconds. This process not only simplifies the journey from a rough idea to a professional design but also helps you master the art of generative AI logo design. Whether you're refining your skills in AI design or exploring new creative methods, this guide shows you exactly how to turn a simple sketch into something that’s hard to believe is AI.
Ready to dive in? Head over to Logo Diffusion and start creating!

Elevate Your Brand with the Ultimate AI Logo Maker
Built with love by designers for designers!


Trusted by over 200k+ users


The future of AI Logo Design
